
If you take receipt photos directly through the cash register book, they will only be displayed as a preview in the cash register book and cannot be exported. To add receipt photos later to your CSV export, we recommend taking the receipt photos separately.
In a nutshell
- To add receipt photos in the cash register book, first take a photo of the receipt with your iPad’s camera and save it in the Photo Library.
- Then, select "Cash Income" or "Cash Expense" in the cash register book, enter the required details, and add the receipt photo by selecting "Choose from Album".
- If you need to take a new photo, you can switch to the Camera App at any time and later select the image from the library.
Let’s Get Started
- Open your cash register book in orderbird PRO.
- Tap on “Cash Income” or “Cash expense”.
- Enter all the required information, such as type, amount, and tax rate correctly.
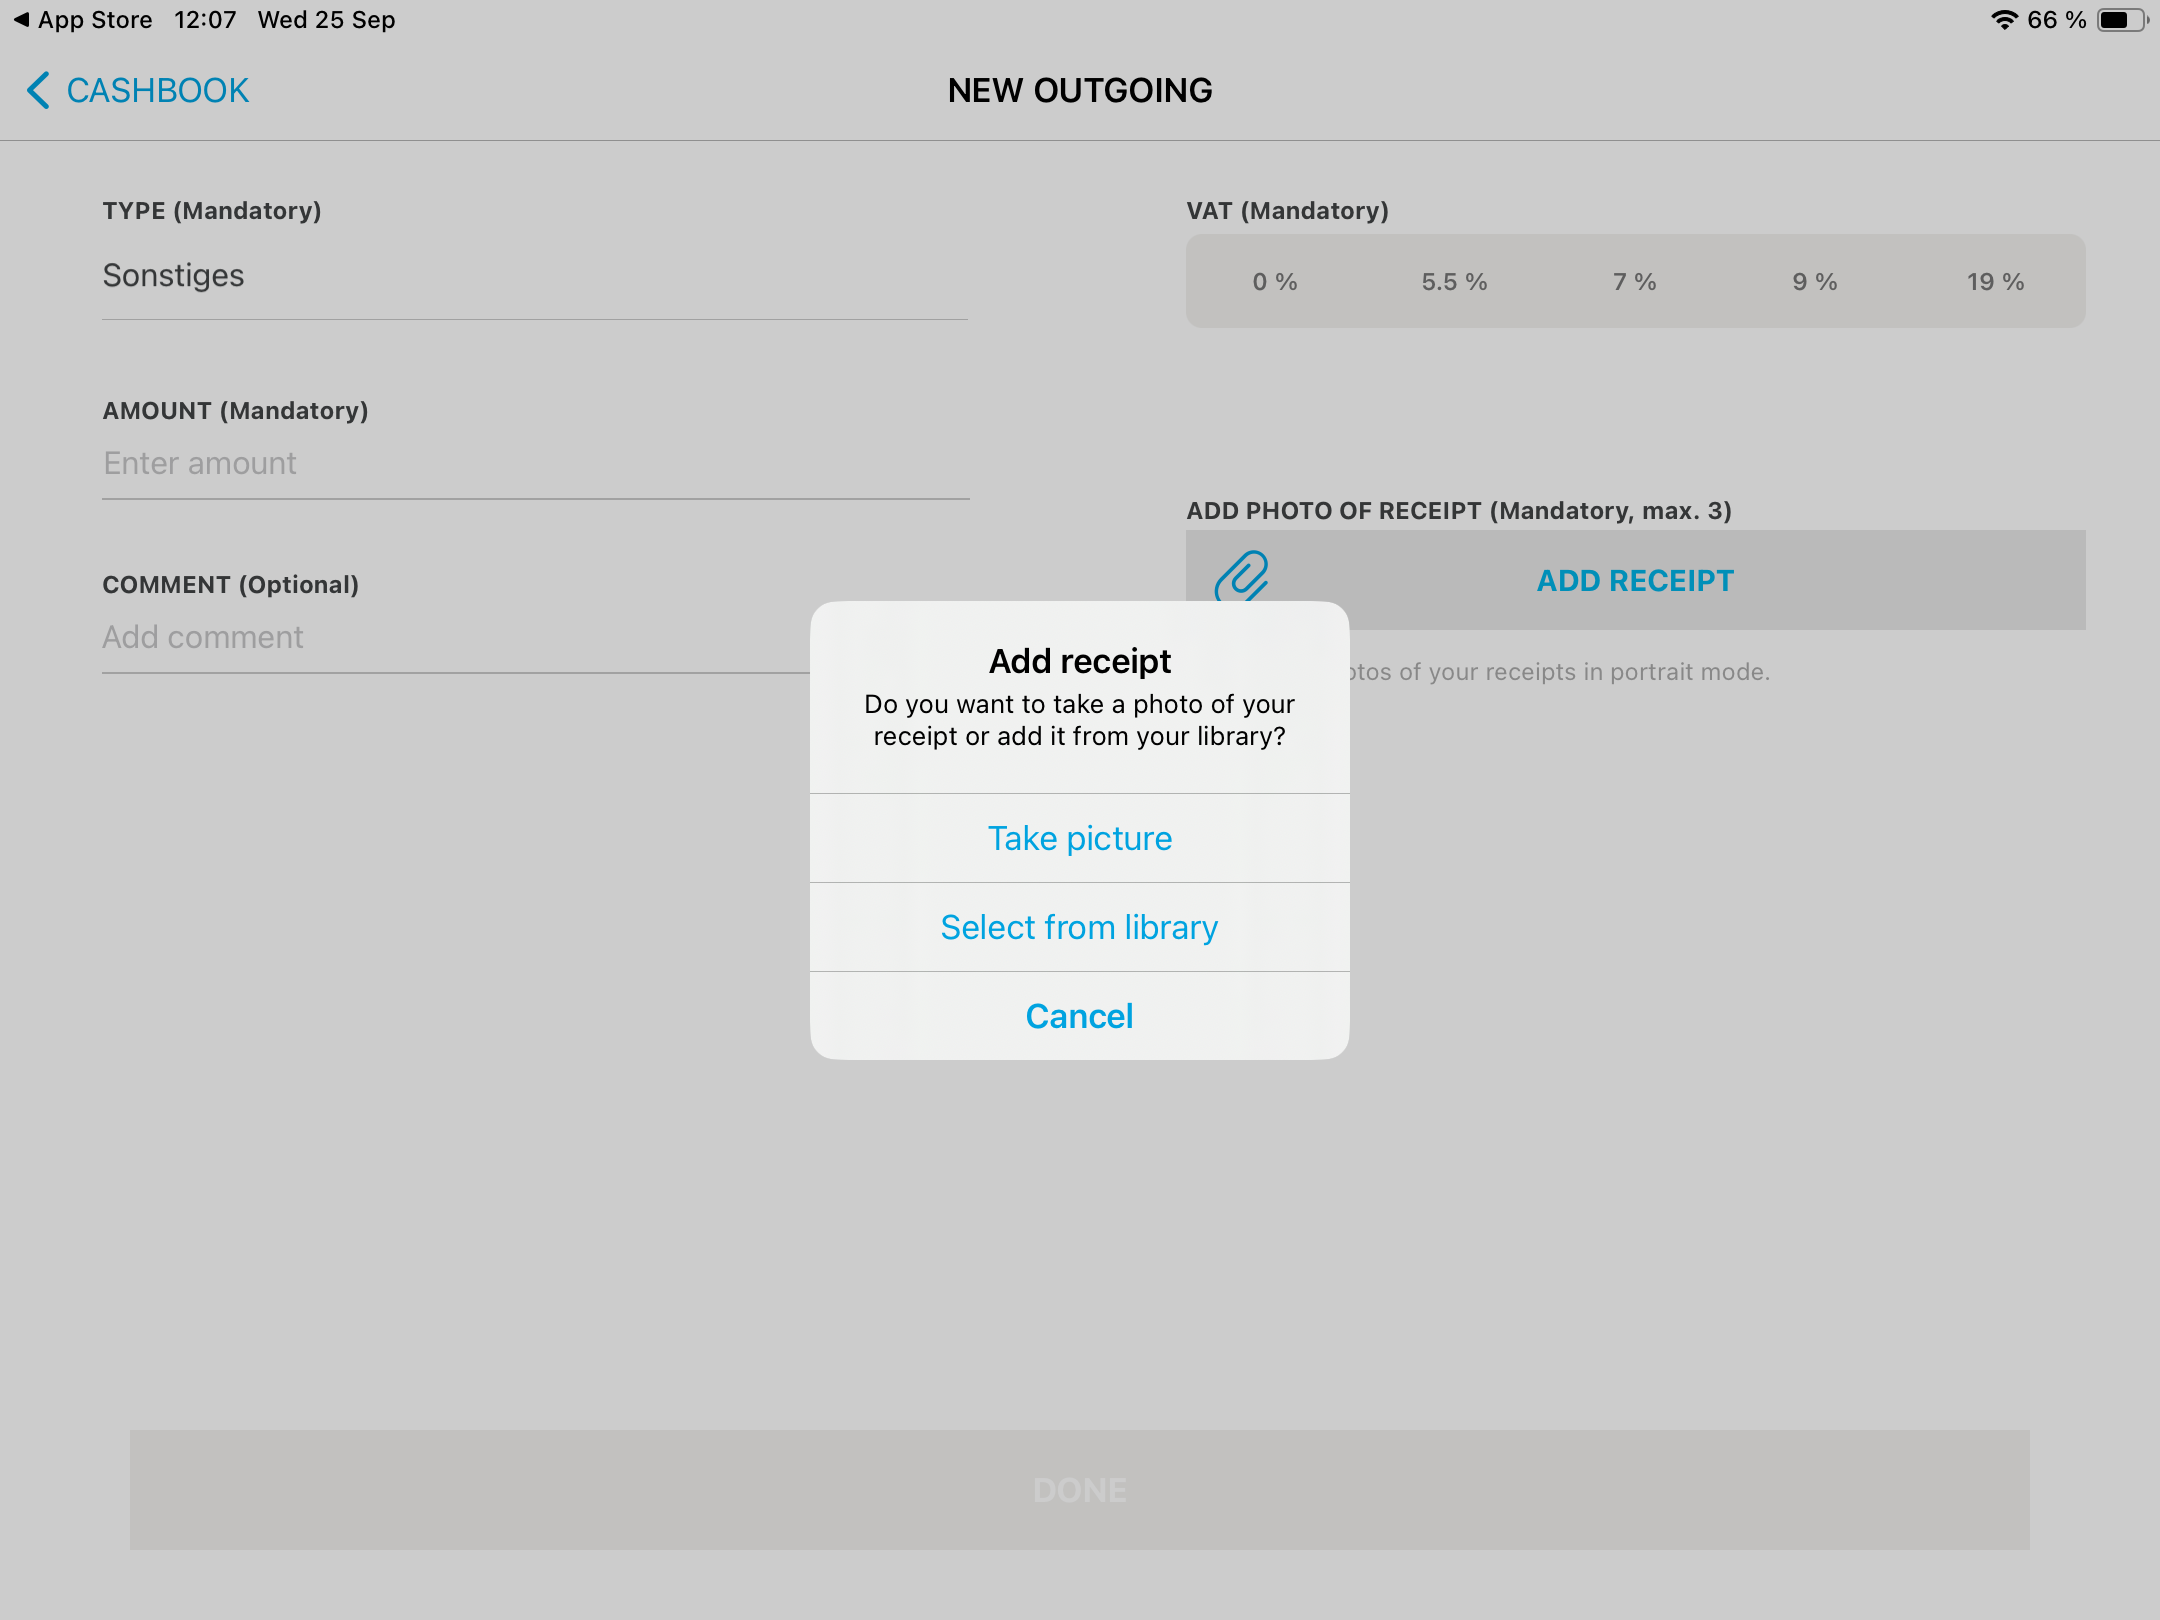
- Tap on "Add Receipt".
- Tap on "Choose from Album" to add a receipt photo from the Photo Library.
-
No receipt photo on hand? Here’s how to take a new photo:
- Press the iPad’s Home button to return to the home screen.
- Open the Camera App and take a photo of the receipt.
- Press the Home button to return, then reopen the orderbird PRO app.
- Now select "Choose from Album" and add the photo you just took.
- Finally, tap "Done".
- Done! Your receipt photo is now saved in the cash register book.
Any Questions?
Is there anything I should consider when adding a receipt for the first time?
Yes, because you’ll need to make a few selections.
- The first time you tap on "Add Receipt", you’ll see the following:
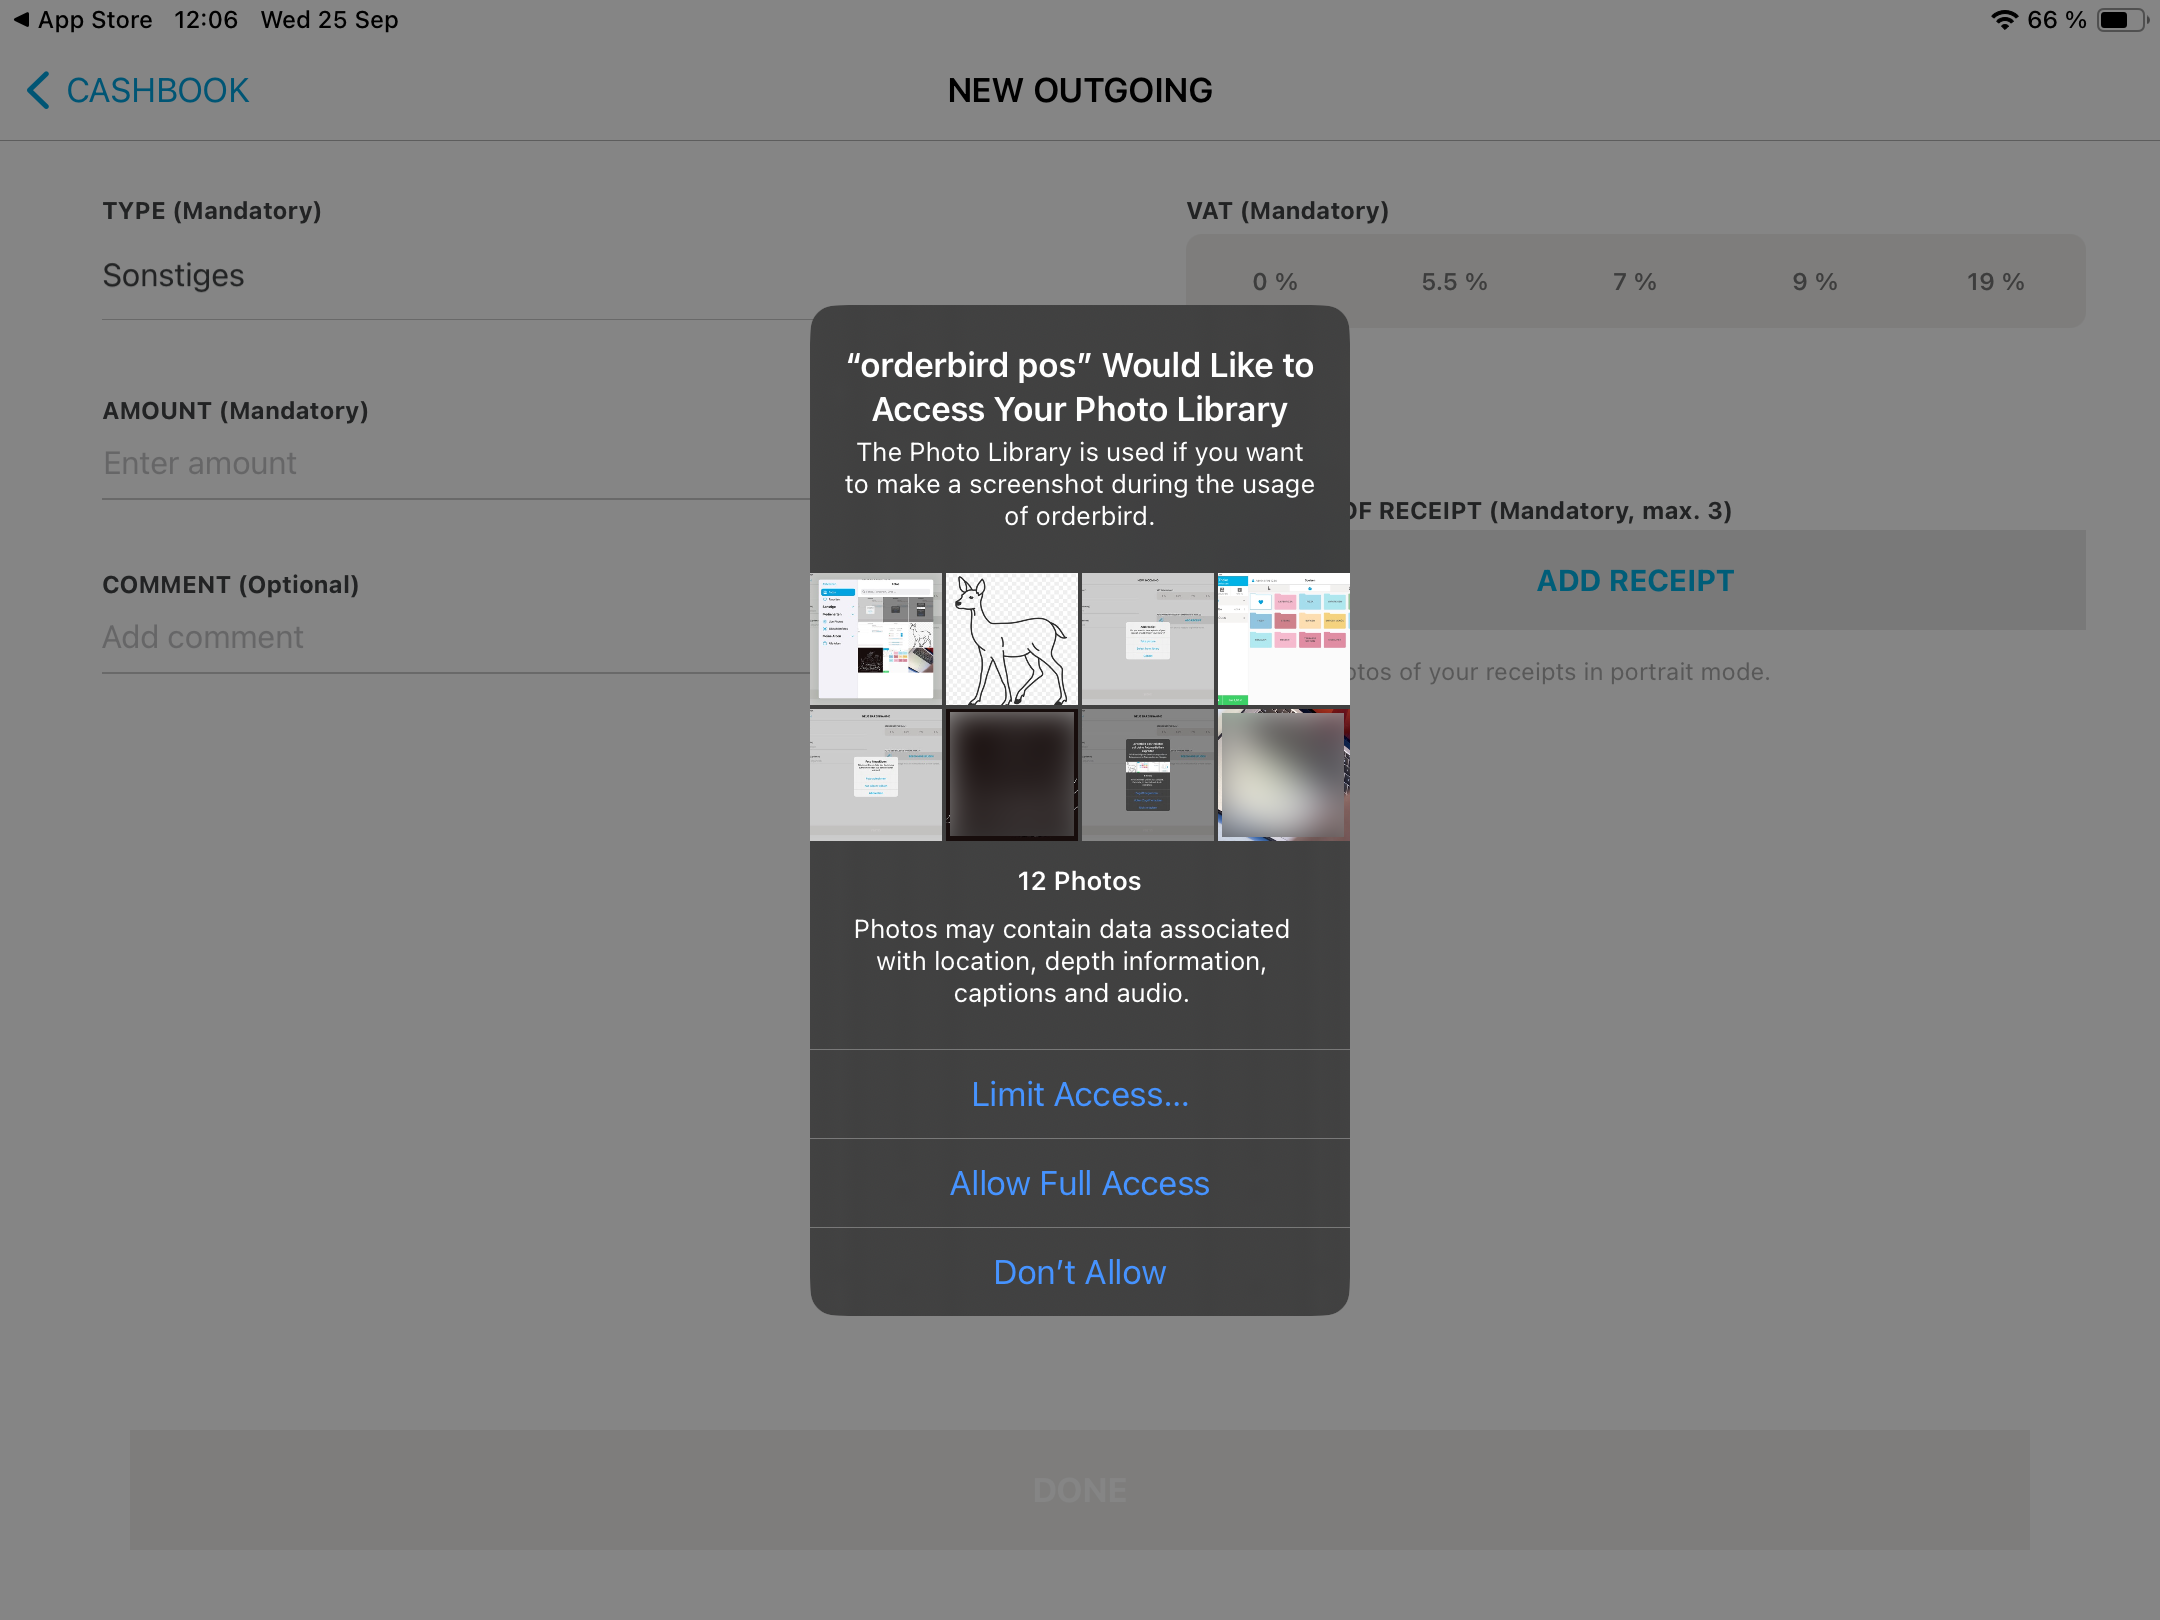
- Now choose between "Full Access" or "Limit Access" if you want to limit the available selections from your Photo Library.
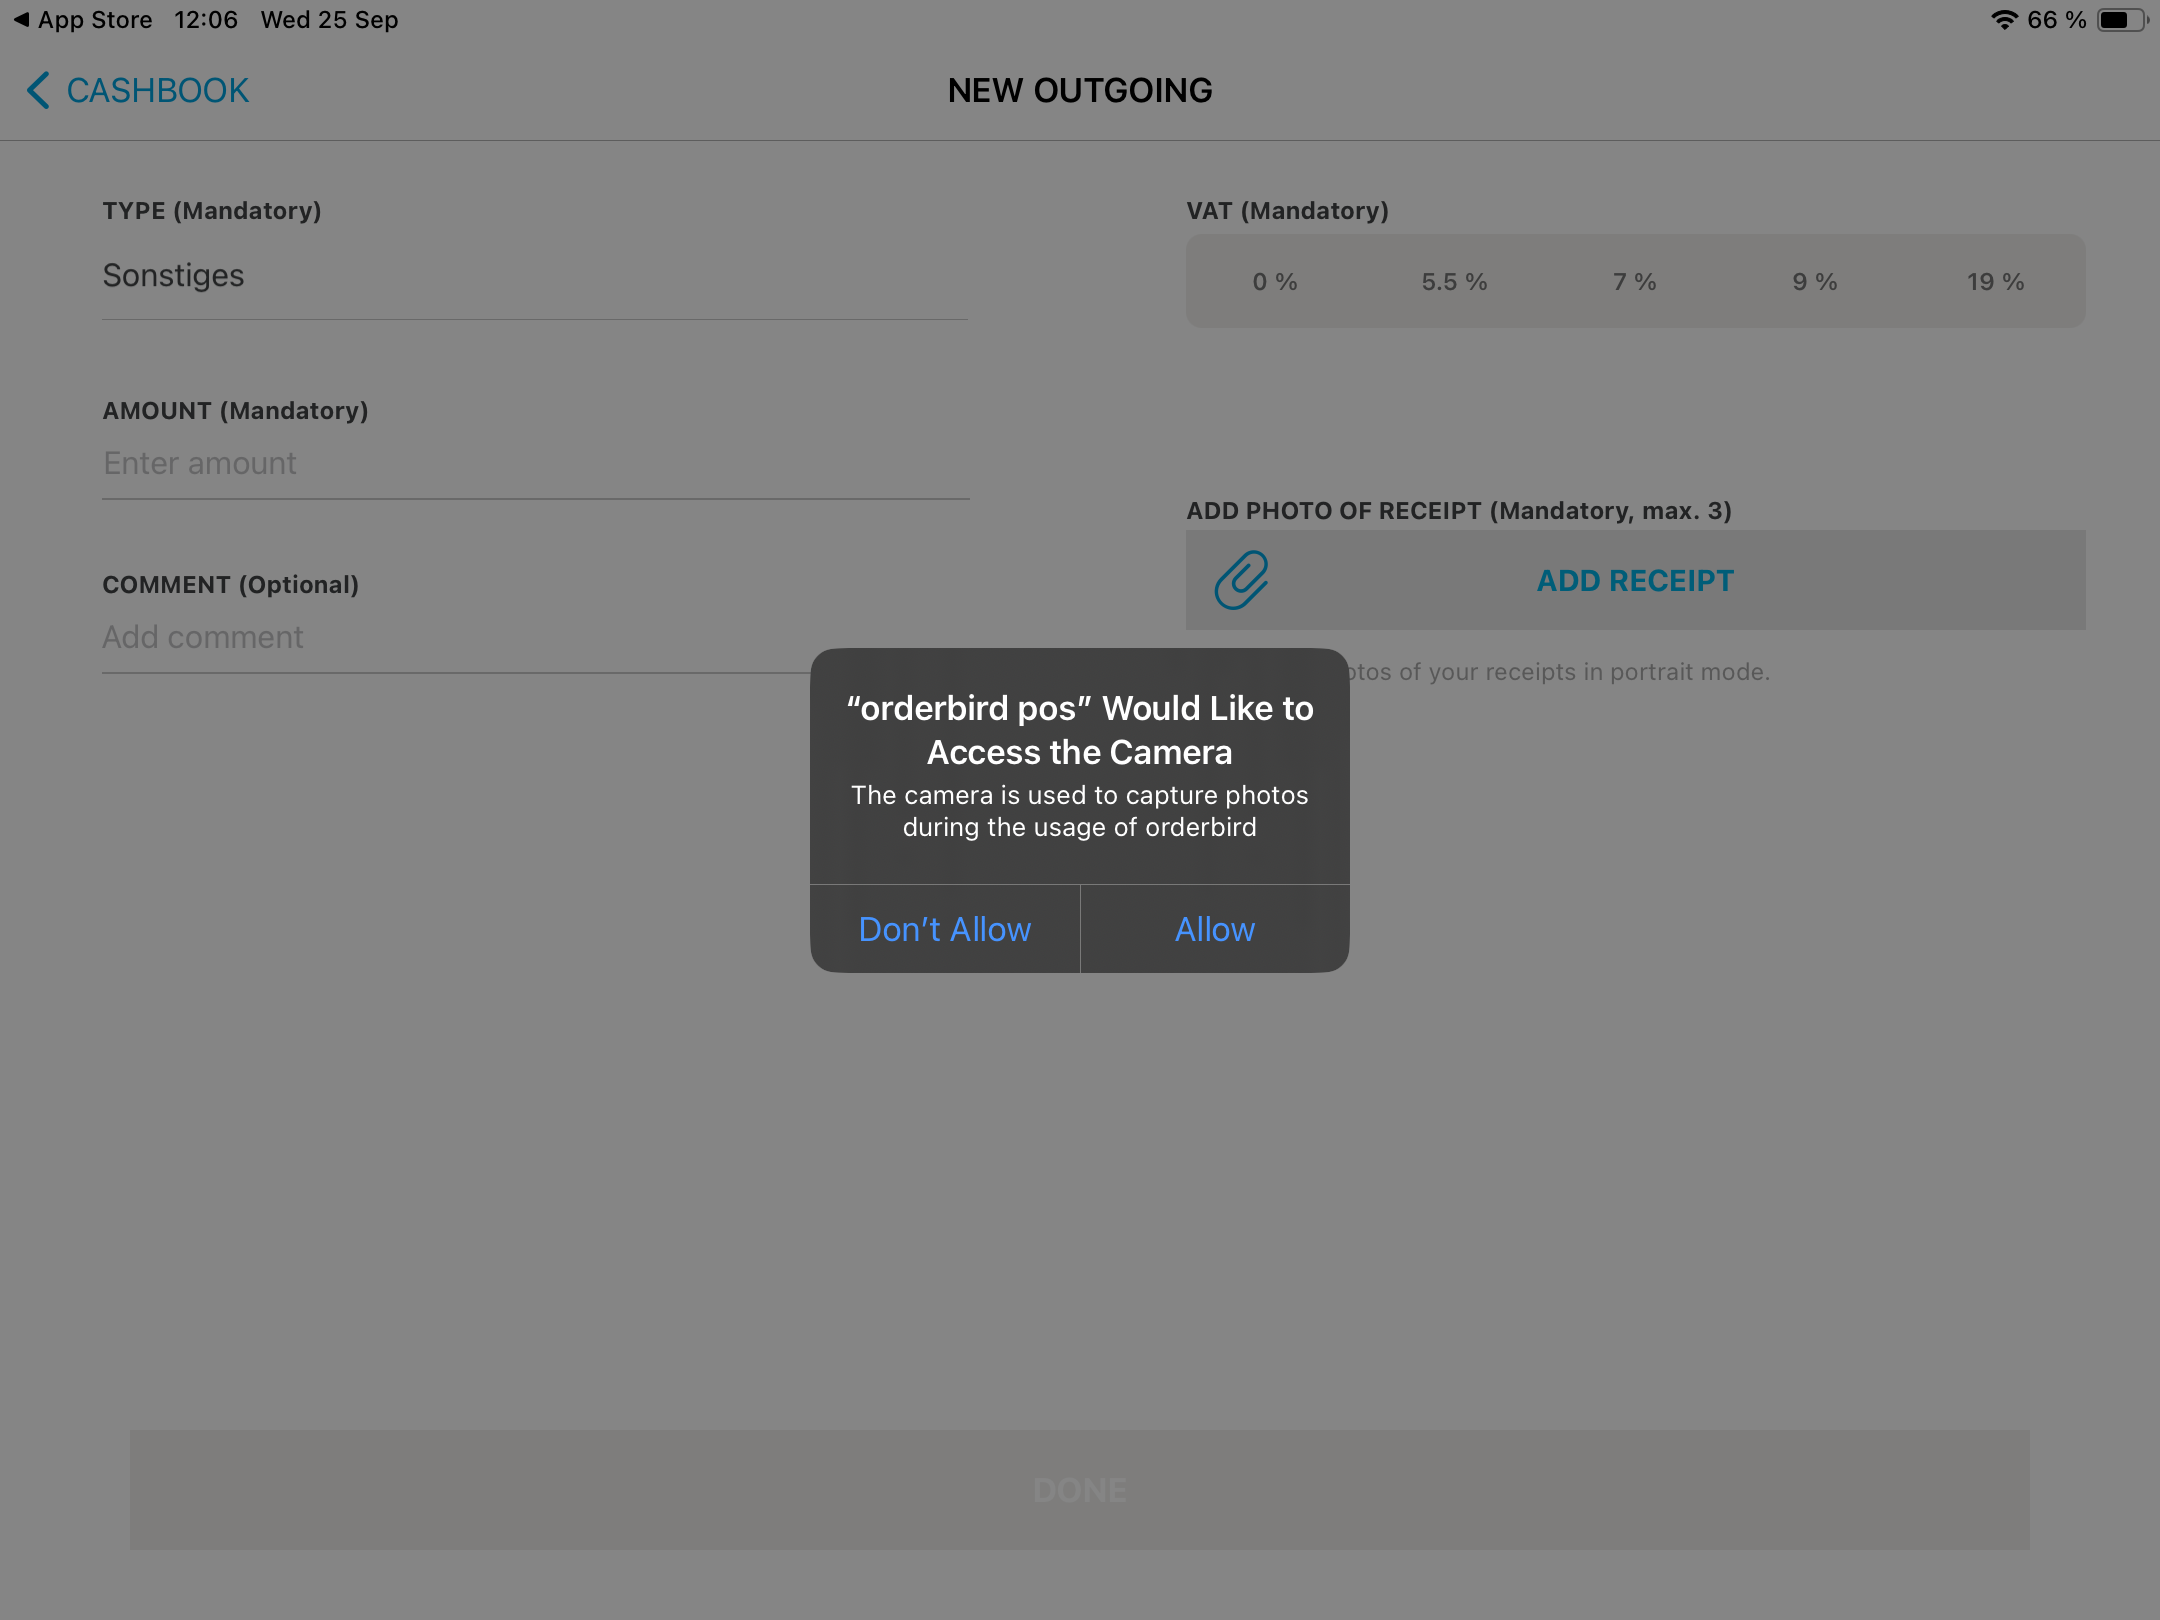
- If you want the receipt photos to be directly integrated into the cash register book without appearing in the Photo Library (but also without being exportable), select "Allow" in this window:
Spoiler: We recommend using the Photo Library. - The rest is as described above :).