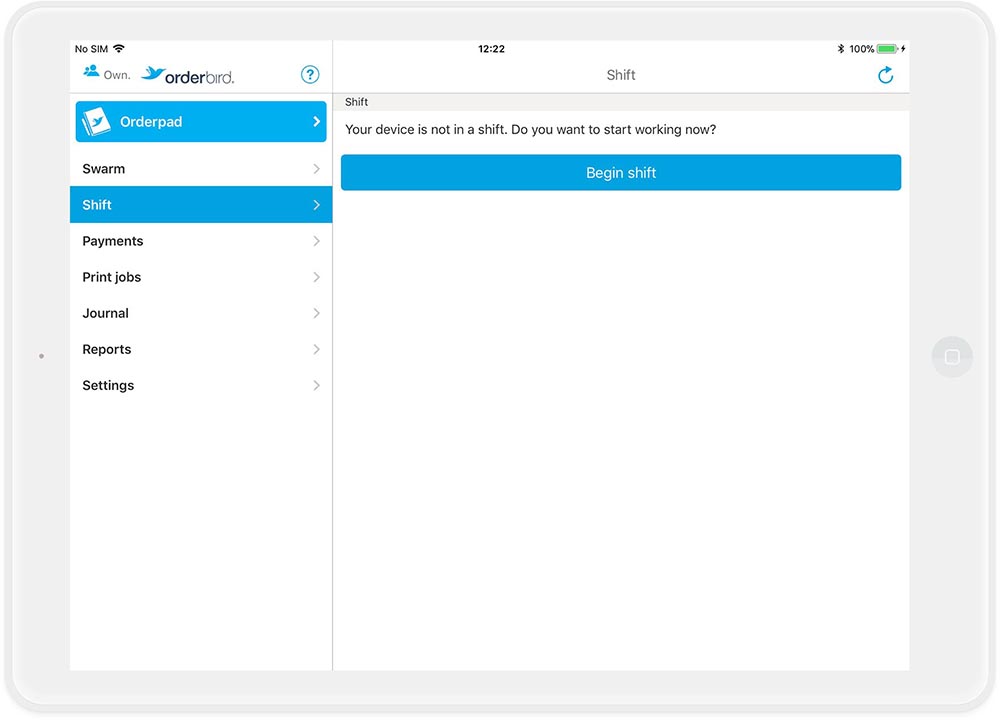
Step 4.1: Start a new shift
Table of Contents
It’s time to start your first shift! It's so easy, we're getting straight to the point:
Step by step
- In the main menu of the orderbird app, go to "Shift".

- Just tap “Begin shift” to start your first shift.
- From now on, everything you do in your orderbird register is protocoled in the GDPdU-report for your tax auditor. You cannot retroactively change or delete data.
Wait a minute, where is the training mode? I just want to figure out how the register works before I start recording data.
There is no training mode, but you can still practice! Just cancel/void the ordered items and select “Training” as a reason and don't worry about closing trial receipts! Also, make sure to inform your tax advisor about this.
Please note: No changes in an open shift
Thou shall not make changes during an open shift
Quickly adjusting the price of coffee? Or changing an order flow? No problem, but please not during an open shift!
There are several reasons for this: changes during an active shift...
- ... can ruin your reports.
- ... are not compliant with tax regulations because you have an item with different prices within a single shift.
- ... can lead to technical issues and disrupt your workday unpleasantly.
Avoid the following changes during an open shift:
- items/family groups (including prices and tax rates)
- order flow
- roles, permissions, and users
- payment methods
- deleting printers
Additionally, avoid making simultaneous changes in MY orderbird and orderbird PRO outside a shift.
The golden rule
Always make changes to your menu during a closed shift and either on MY orderbird or directly in orderbird PRO, not simultaneously in both products! This way, you stay on the safe side.
Next step
The next thing you learn is how to take orders, cancel an order and charge your customers.