How do I manage my tables?
In this article, you'll learn how to organize your tables easily and efficiently.

Table of Contents
Want to try new table names or add a printer to a table? You can update your table settings in orderbird PRO!
In a nutshell
- If necessary, close the shift,
- Navigate to “Settings” and select “Tables.”
- Tap the “+” at the bottom to create a new table.
- Enter the table name.
- Assign a table number for access.
- Choose the invoice printer for the table.
- Tap a table to make edits.
- Save your changes.
- All set!
Let's go!
Before you start, ensure that no shift is open. To get started, open the app settings and tap “Tables.” The list view will display sample tables. 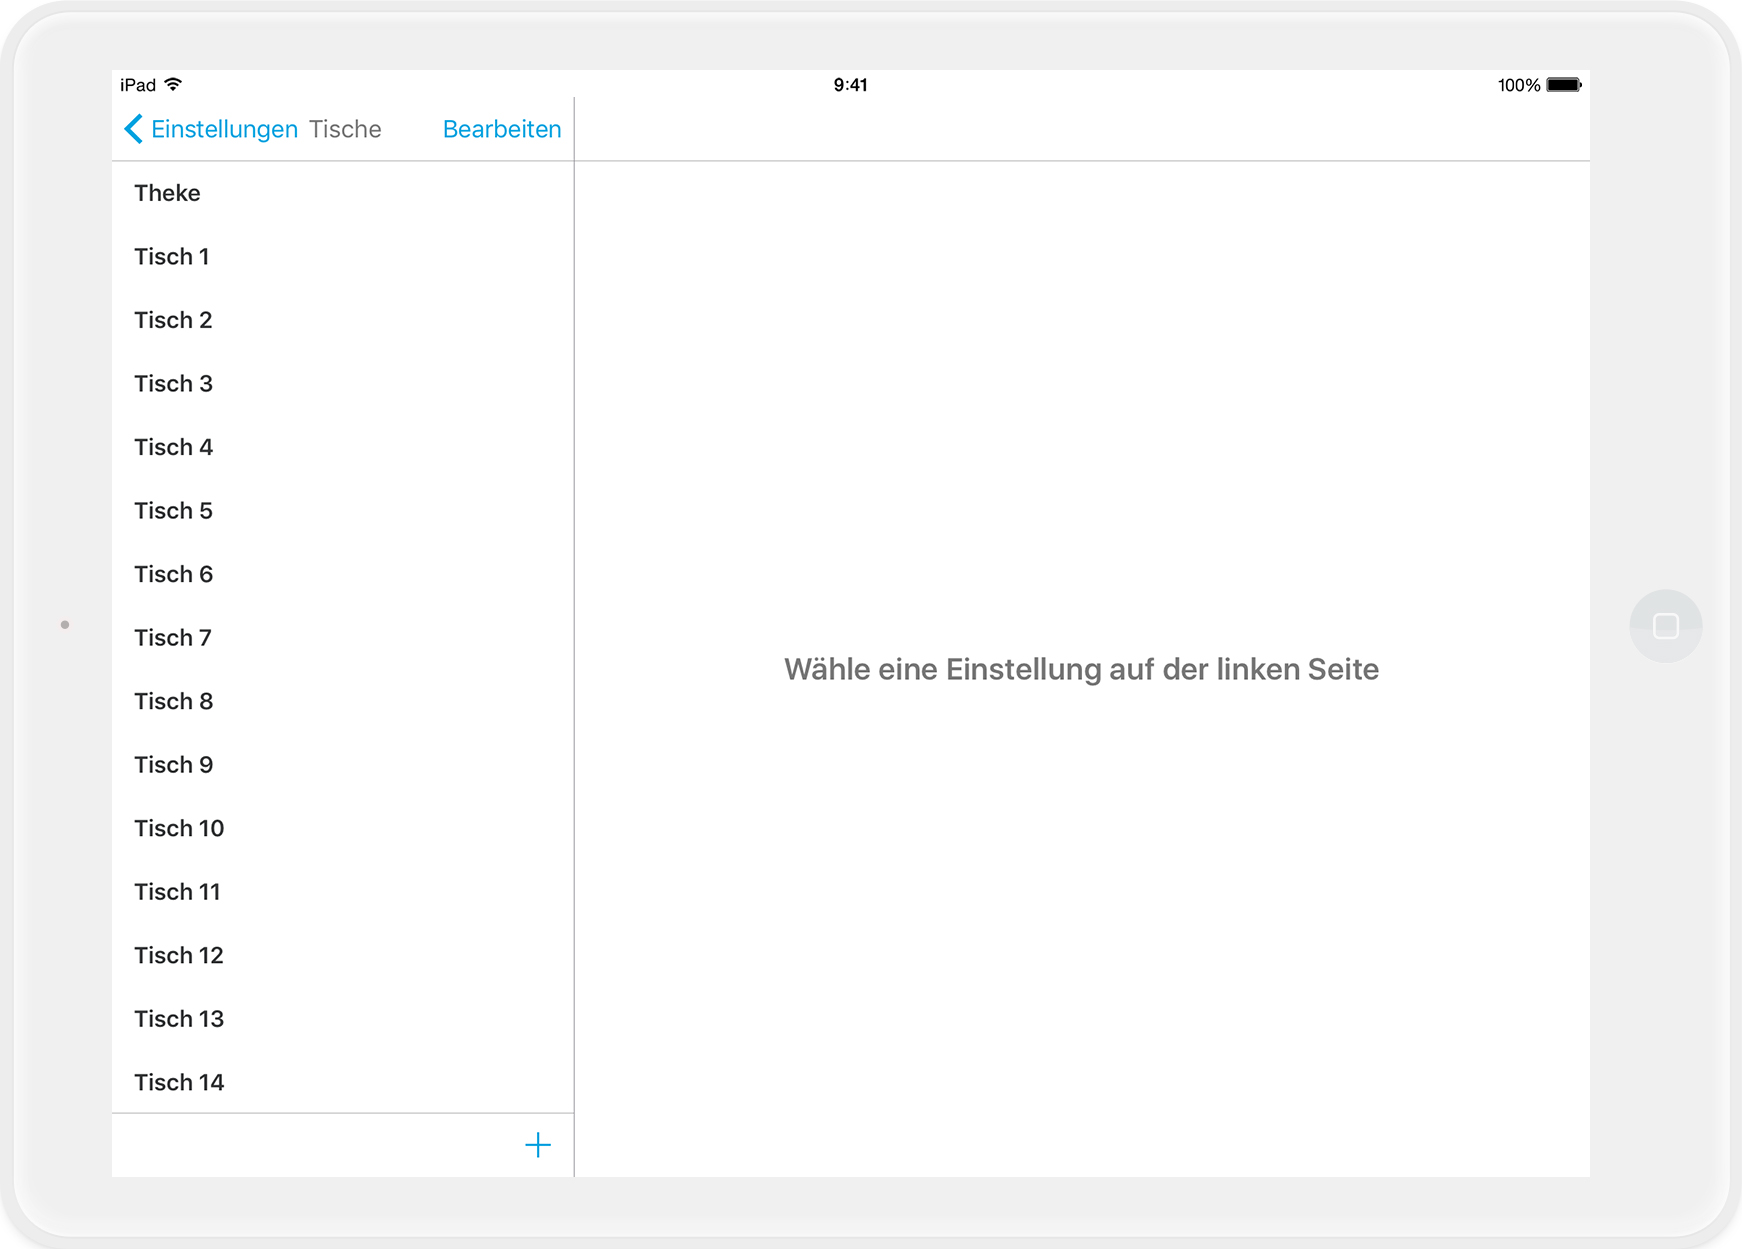
Adding New Tables
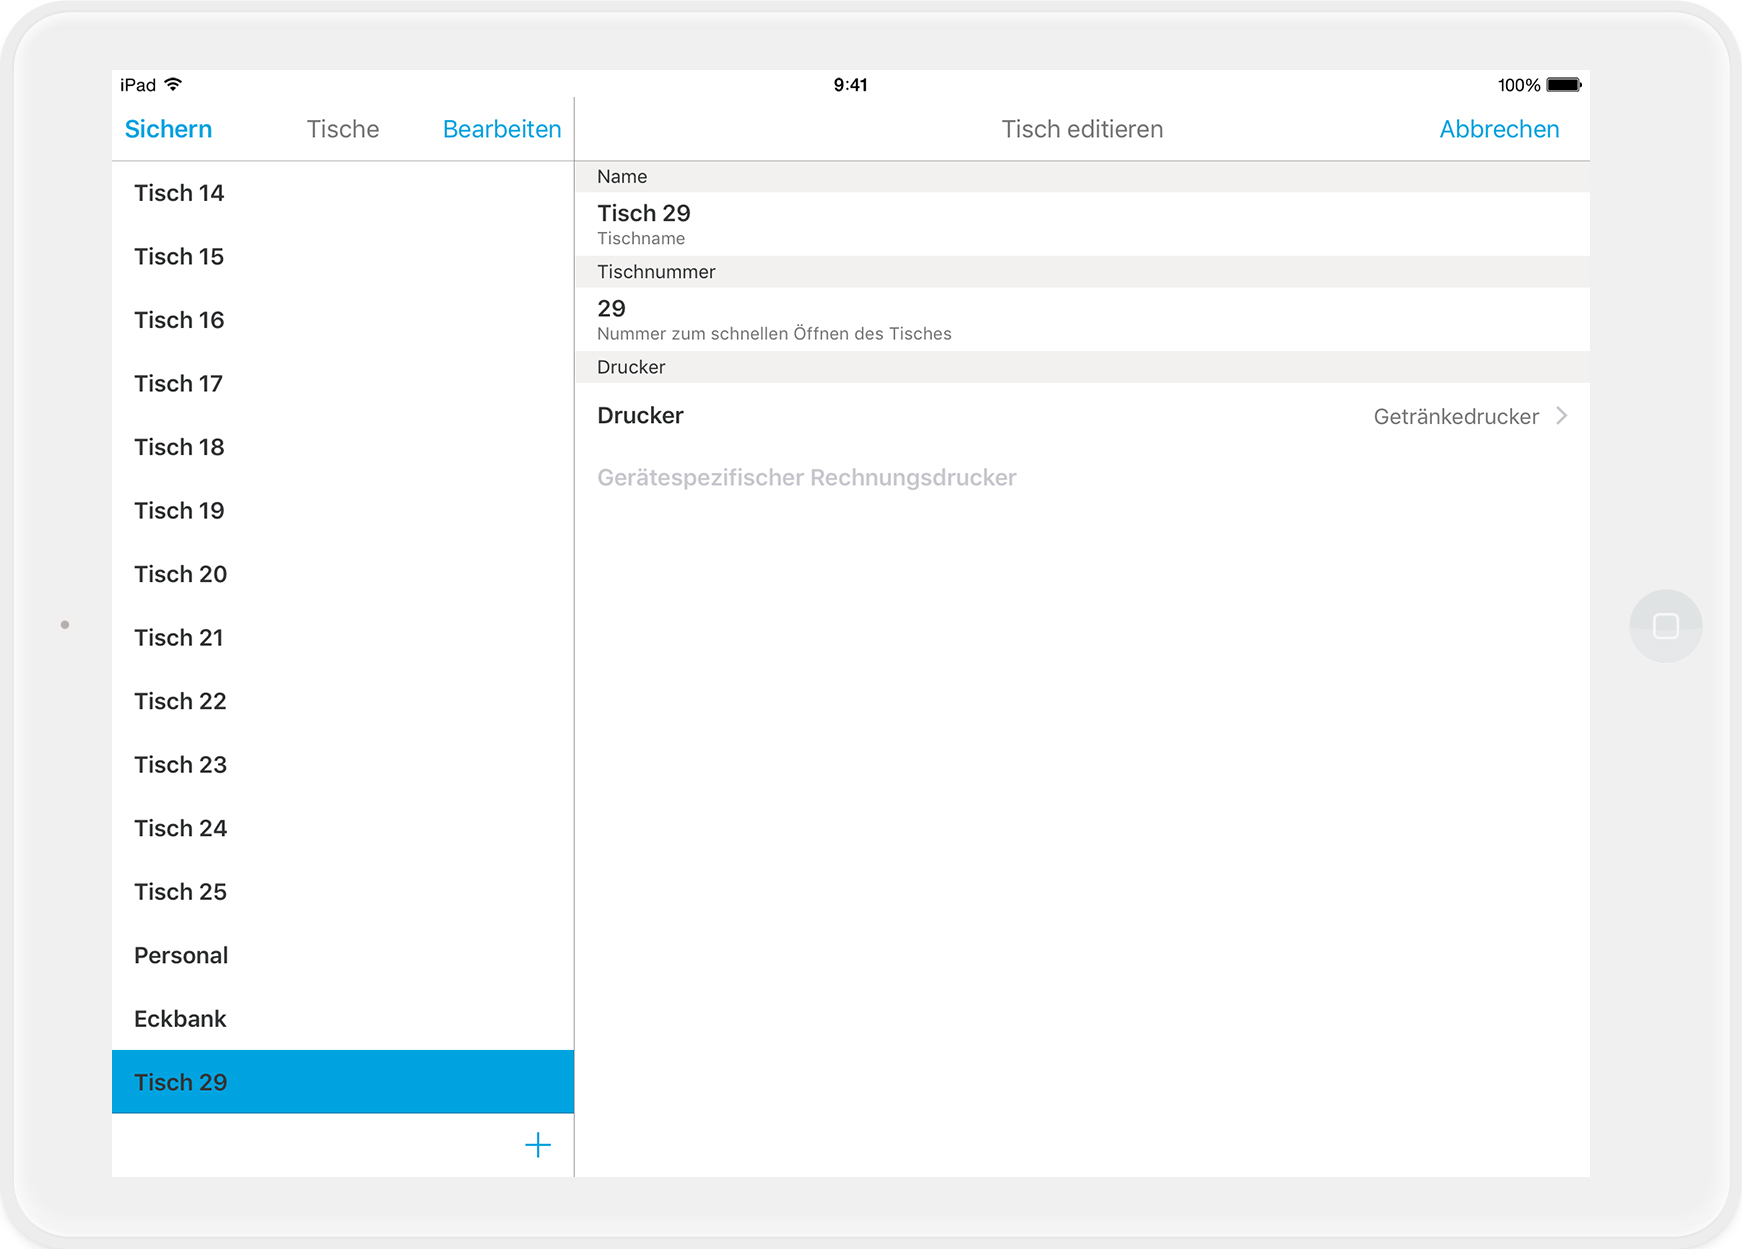
To add a new table, tap the “+” at the bottom of the screen. The table properties will appear on the right, with the name reflecting the number of existing tables.
Renaming Tables
To rename a table, simply tap on the current name and make your changes. You can also modify an existing table by selecting it and adjusting the settings on the right as needed.
In the “Table Number” field (Tischnummer) below, input the number that you use to open a table in the order block. 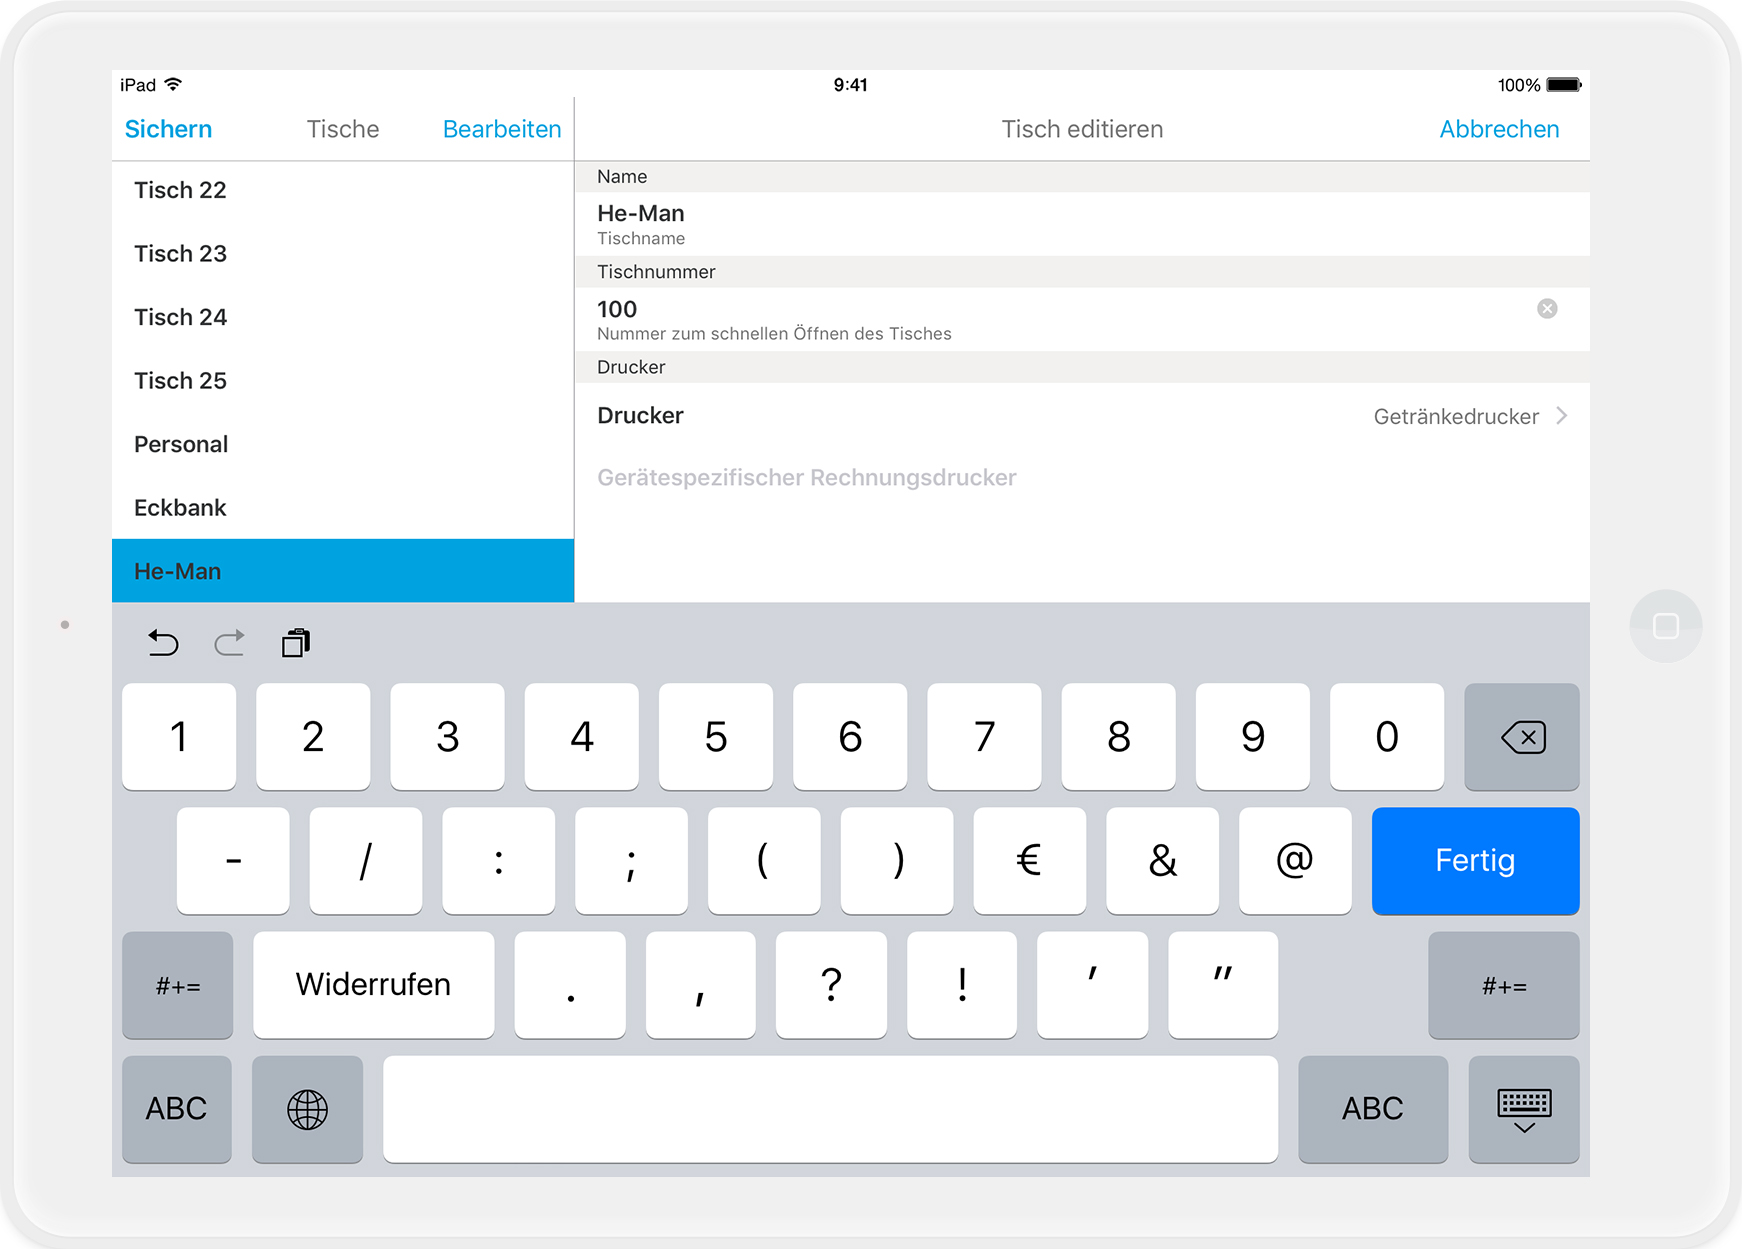
Table and Printer: A Perfect Match
Below, you'll find the printer settings for the table. By default, the beverage printer is preselected. If you'd prefer invoices for this table to be printed on another printer, tap the printer icon and choose from your available printers. 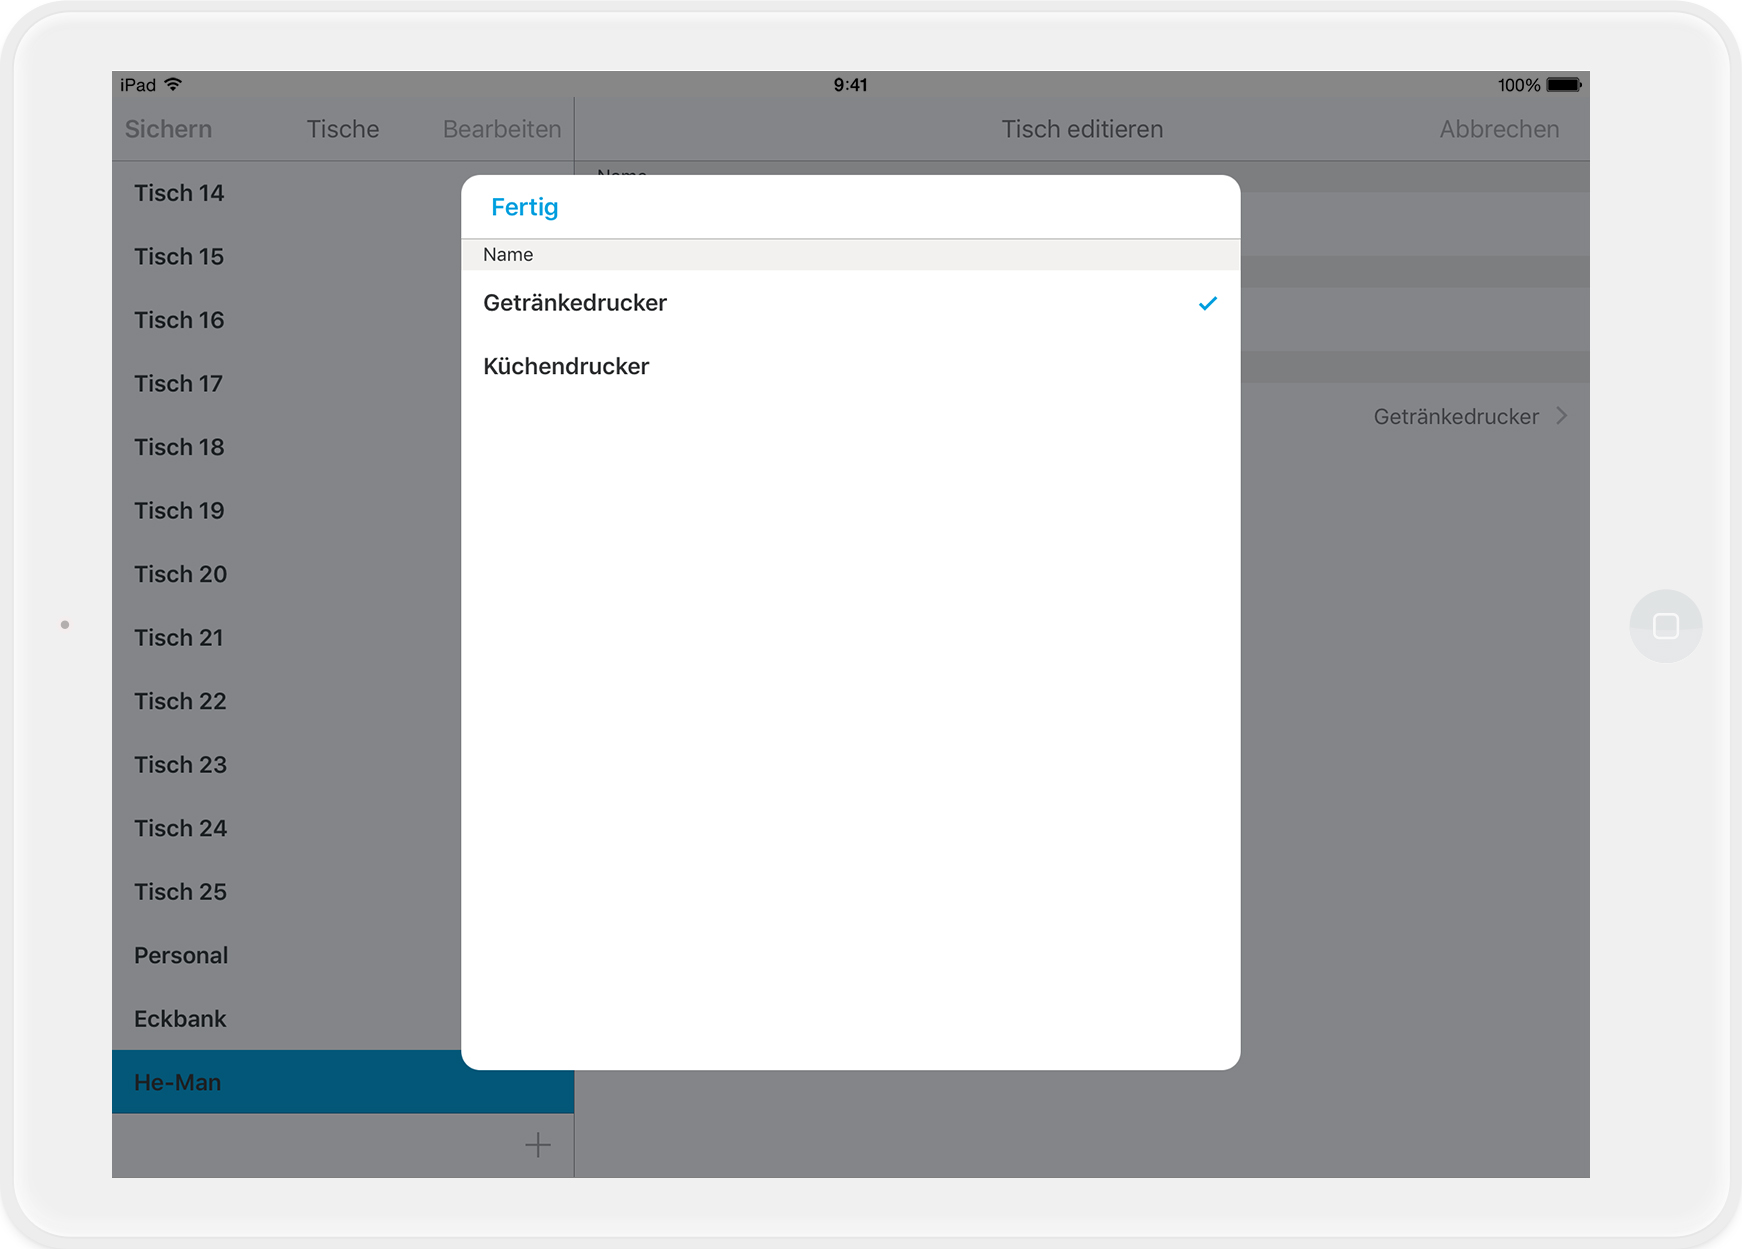
Tipp: In "Edit Mode," you can select multiple tables using a blue circle and assign a printer to all of them simultaneously. Once you've completed moving tables or assigning printers, tap “Done” at the top. 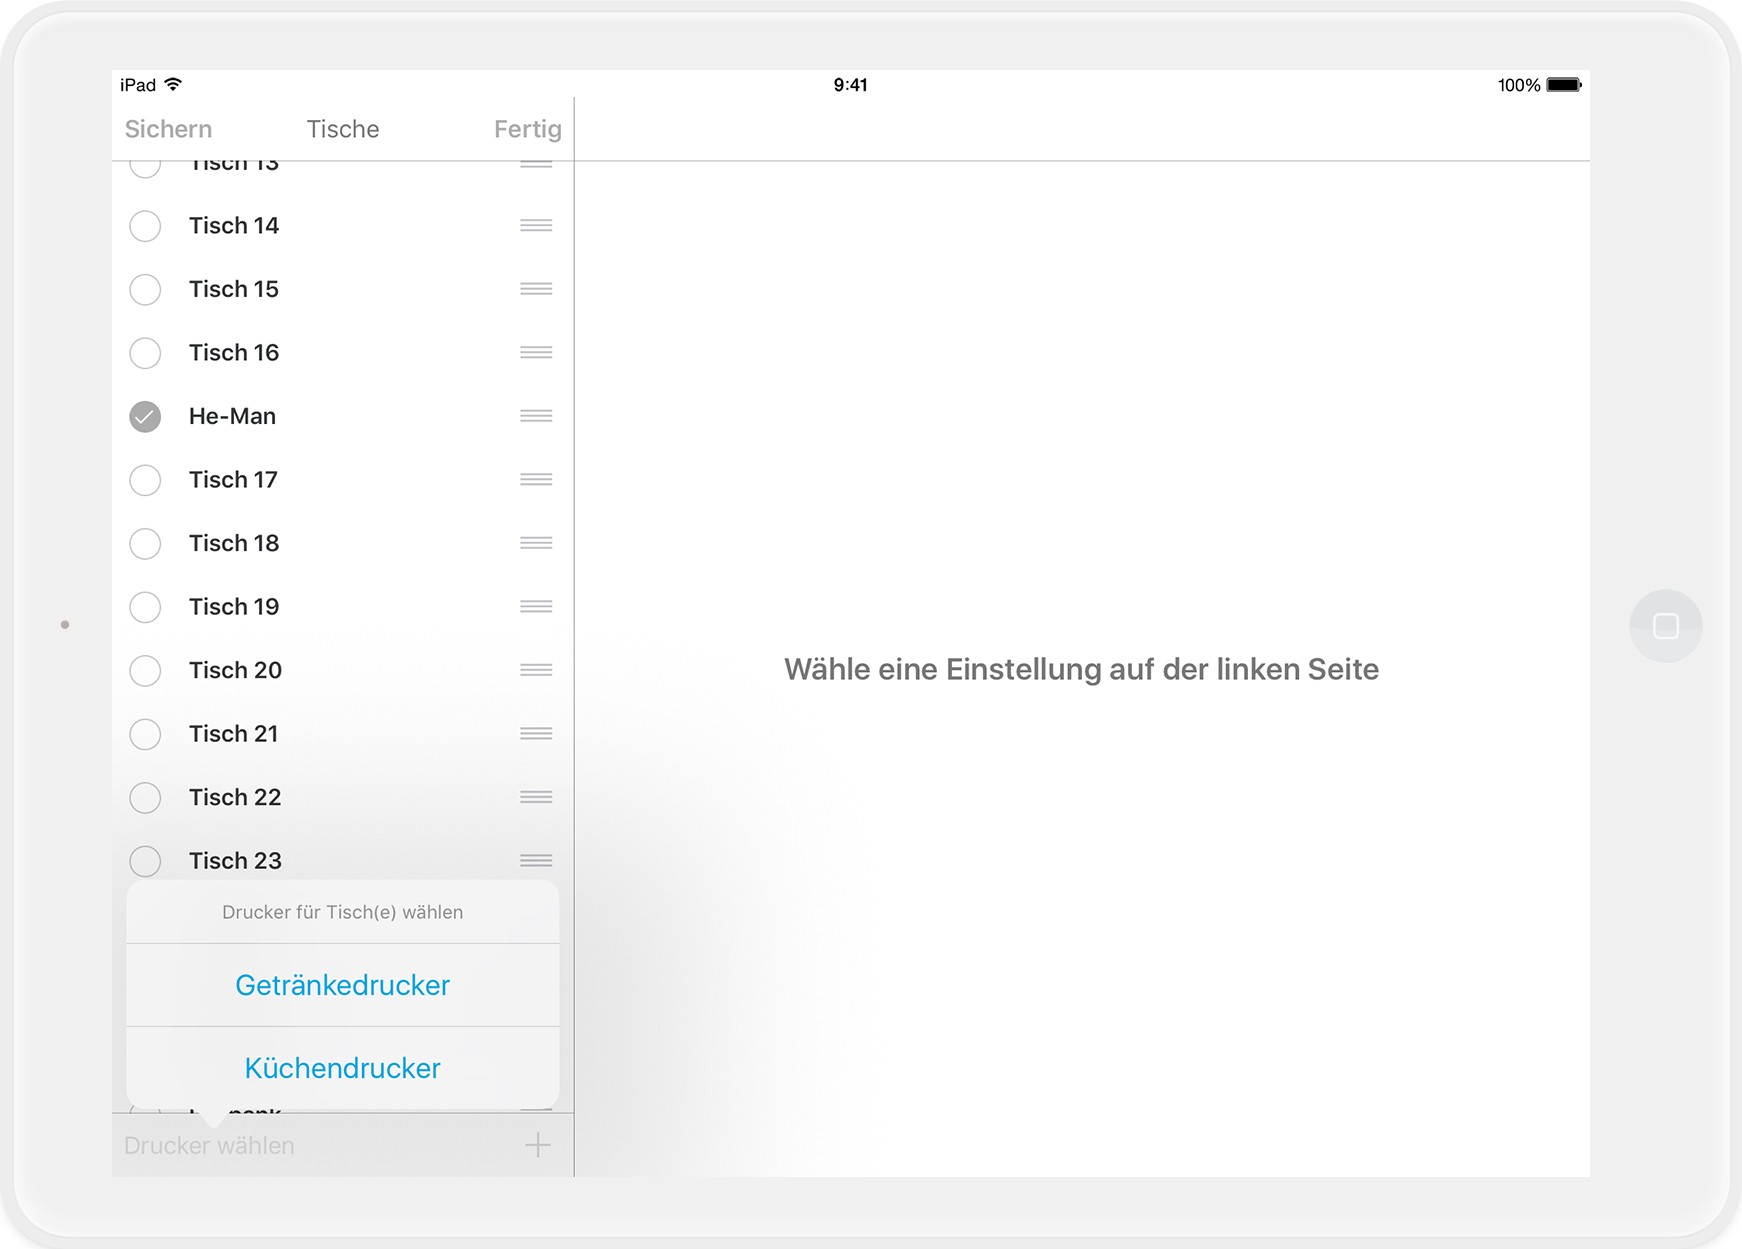
Special Case: The Counter
The “Counter” table is automatically opened if you book an item in the order block without selecting a table first. Deleting this table also removes your default table, requiring you to select a table before booking an item.
Reordering Tables
You can rearrange the tables in the list view to your preference. To do this, tap "Edit" at the top, hold the three gray lines next to the table, and drag it to your desired position. 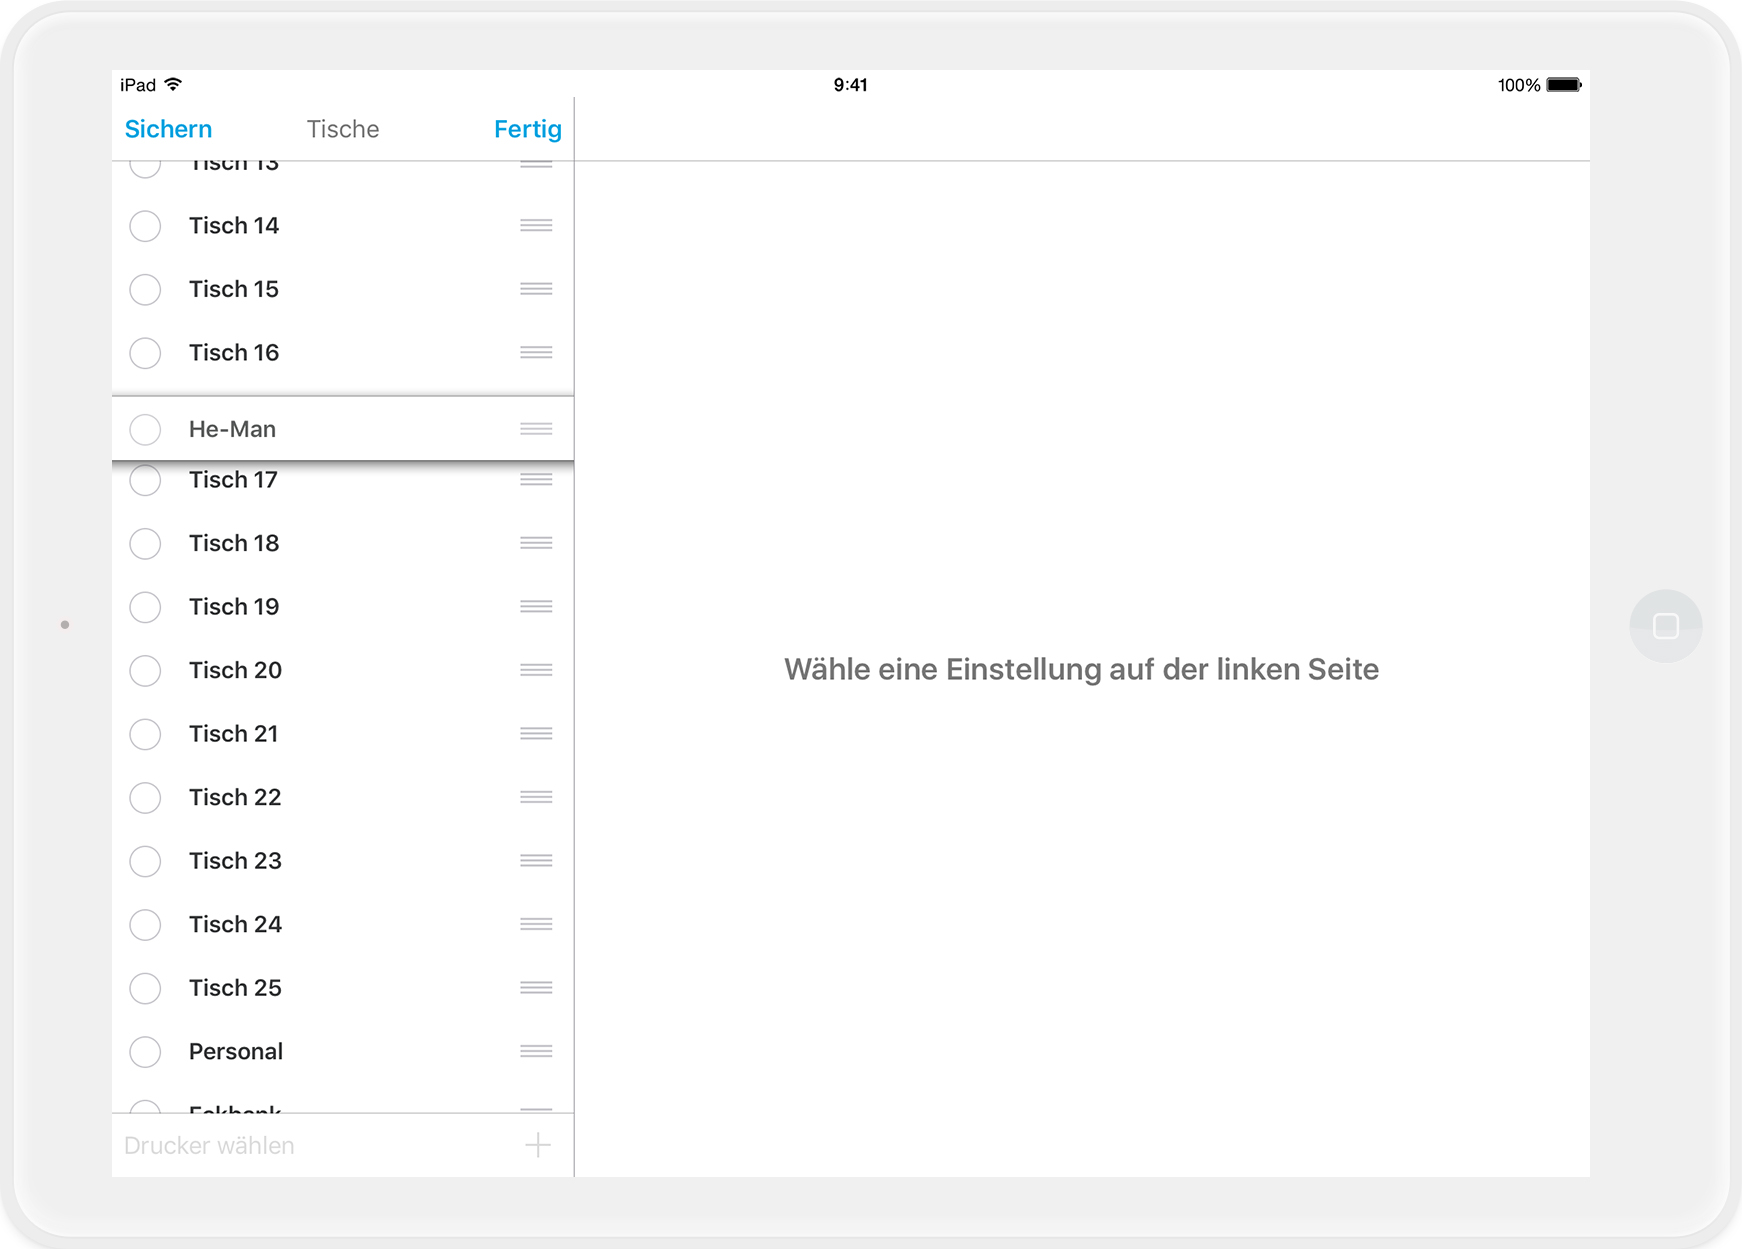
Done?
Once you’ve made all your changes, click “Save” at the top left. In the following window, confirm your action to apply the changes.
Any questions?
Why Do I Need to Close the Shift?
Adding new tables or changing table names is considered a change to master data. Such changes should only be made when no shift is open to ensure data consistency.
Table Plan Changes Outside of Shifts
It’s best to plan major adjustments to the table plan outside of an active shift.
What you can do, is moving, rearranging, or adjusting the shape of existing tables.