With the Floor Plan in the orderbird app, you can easily book your guests' orders on a table. You can create up to five different areas (e.g. terrace, 1st floor, fireplace room, etc.) and expand the grid to up to 15x15 tables per area.
In a nutshell
- Go to Orderpad > Floor Plan > Edit, to create, edit or delete areas or tables.
- Go to Orderpad > Floor Plan, to take orders or switch between different areas in the Floor Plan.
iPad only!
The Floor Plan only works on the iPad, because the displays of iPod touch and iPhone are too small!
Opening Floor Plan in edit mode
- Tap on Orderpad. You may have to open a shift first.
- Tap on "Floor Plan" in the upper navigation bar.
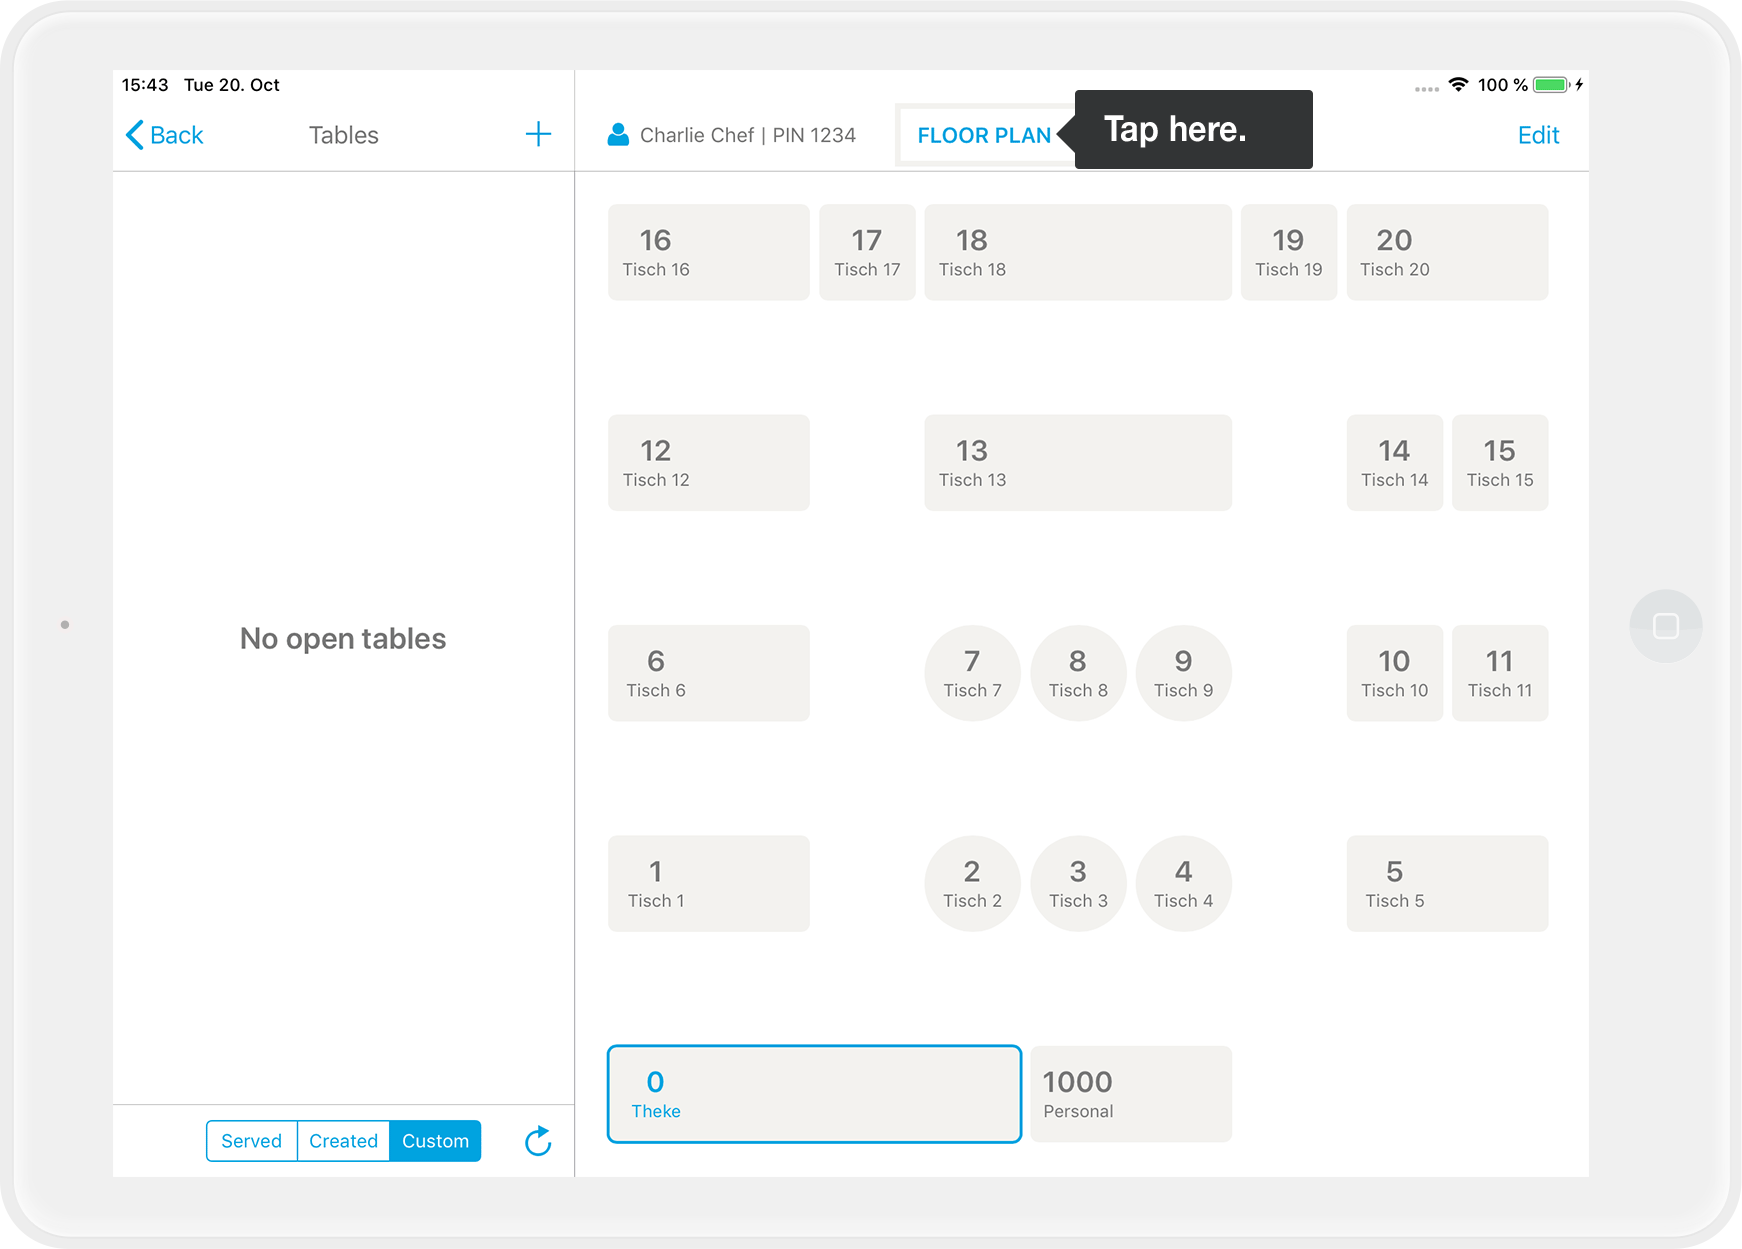
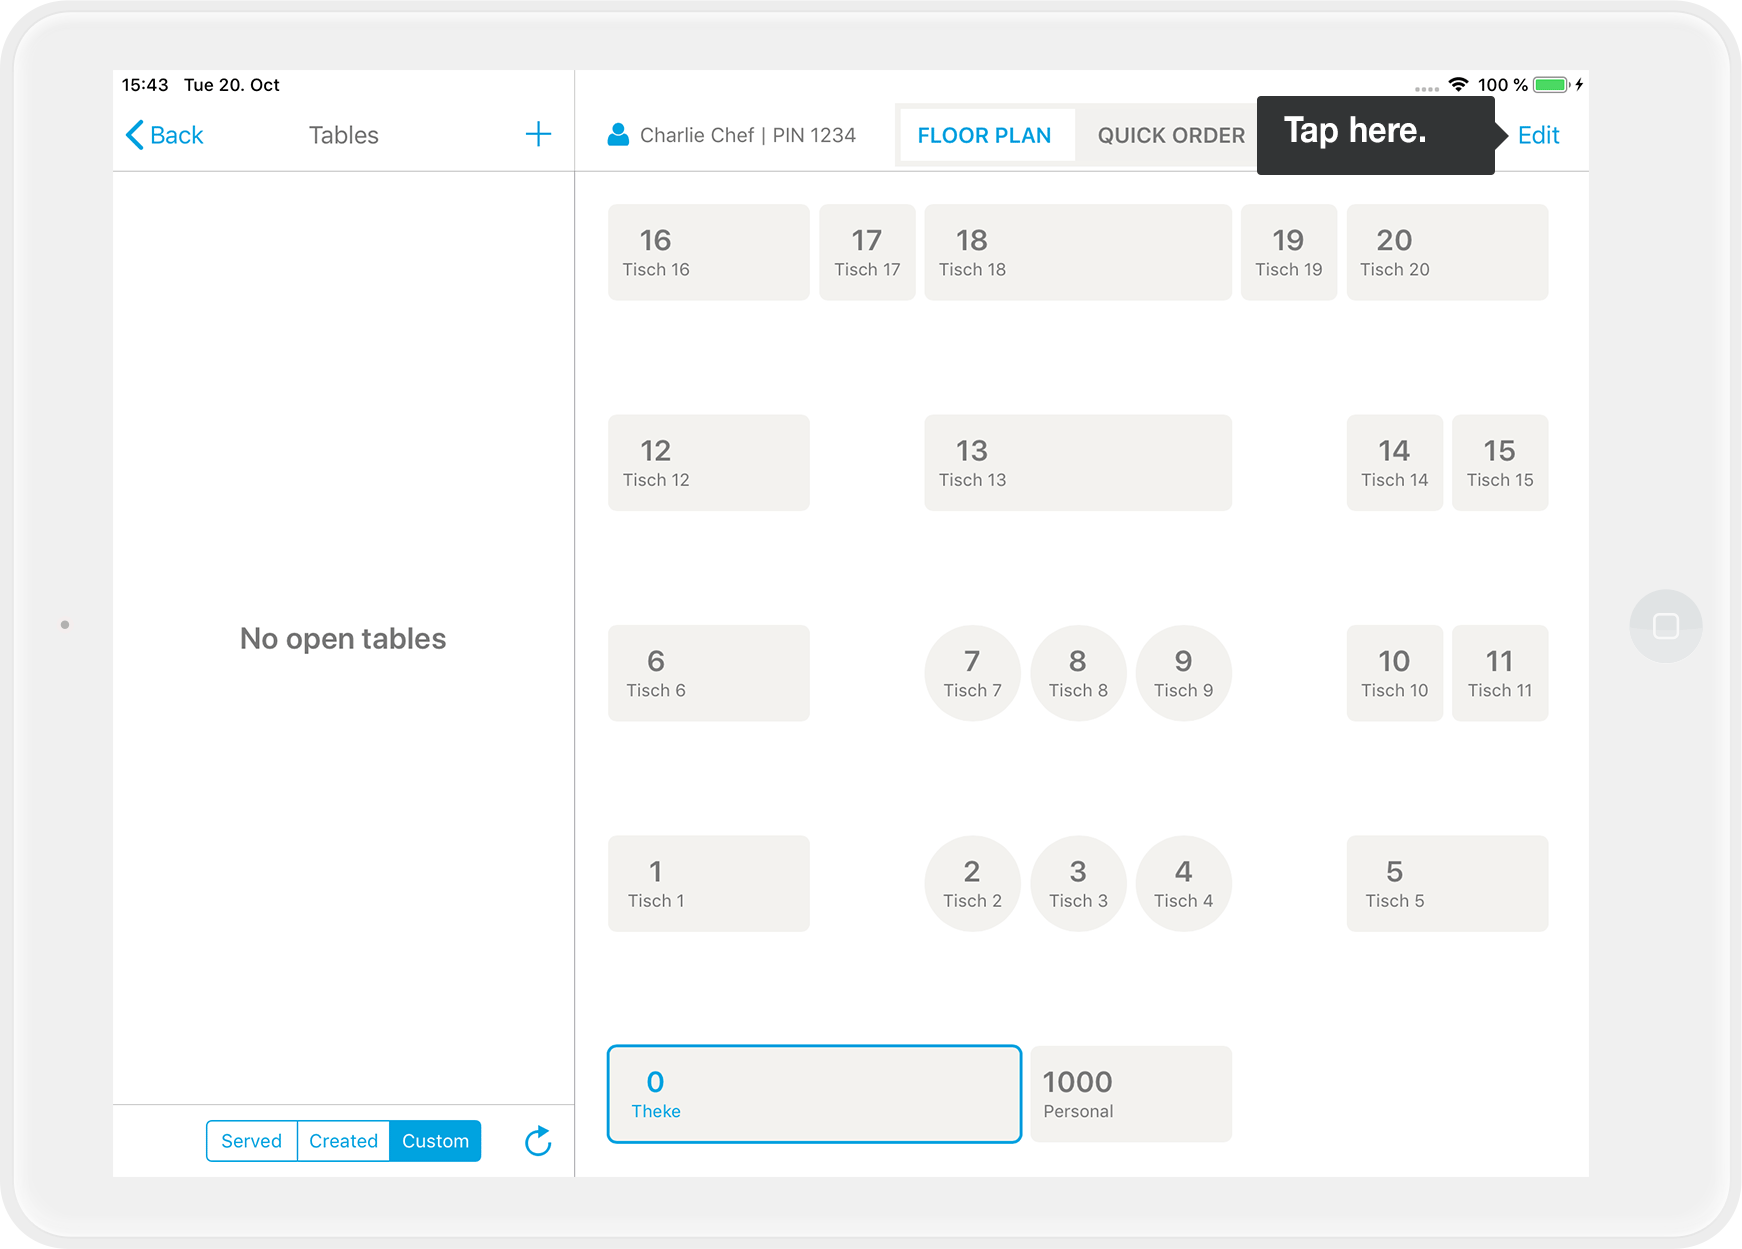
- Click on "Edit" in the upper right corner to adjust the Floor Plan. You will now see the table grid in edit mode
Creating & arranging tables
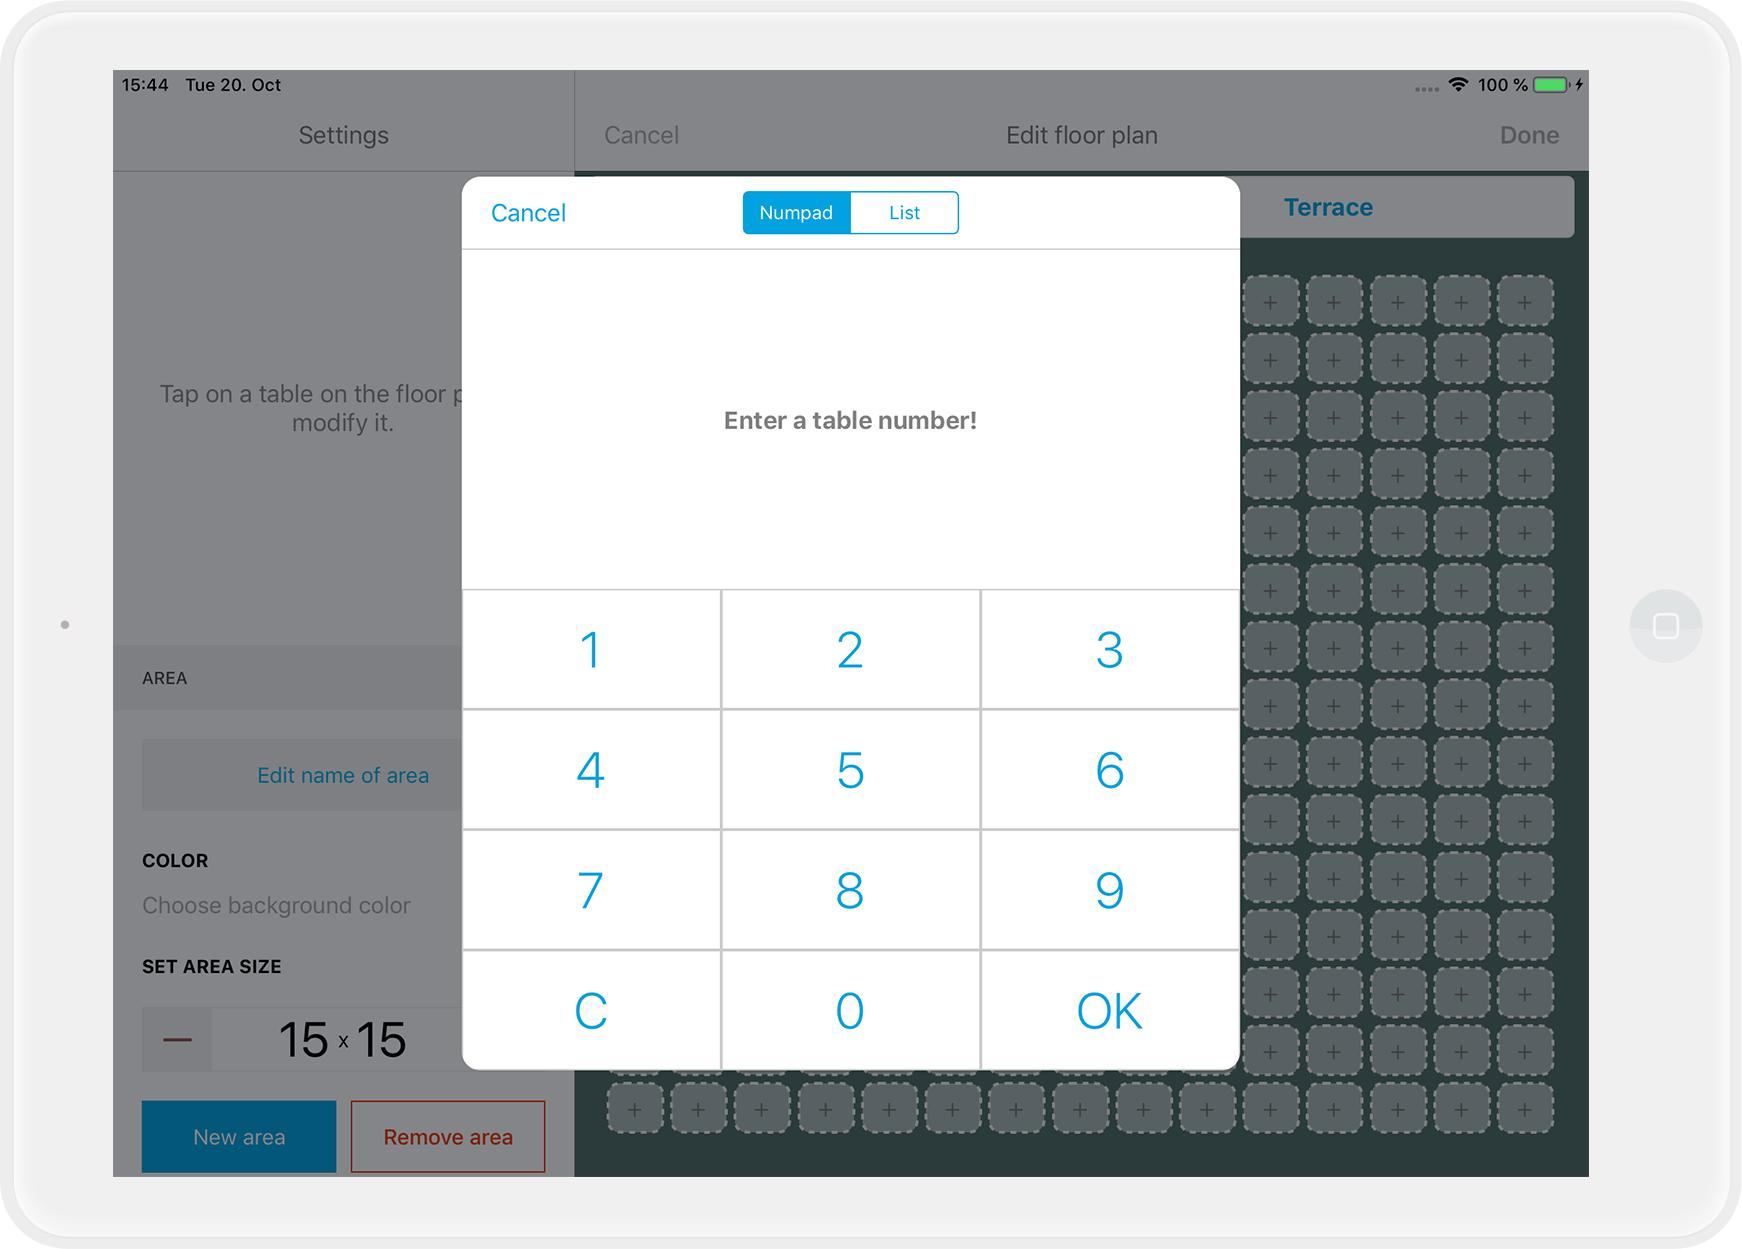
- Tap on an empty table template with the little "+" on it in the grid.
- You will now be asked to assign a table number.
Tip
You can always tap on the left side of the screen on "Change table number" and enter a new number.
- While editing a table, click on a blue-framed table template next to the current table: The table will grow in this direction. You can create all kinds of table arrangements this way: round, L-shaped, U-shaped, long rows, ...
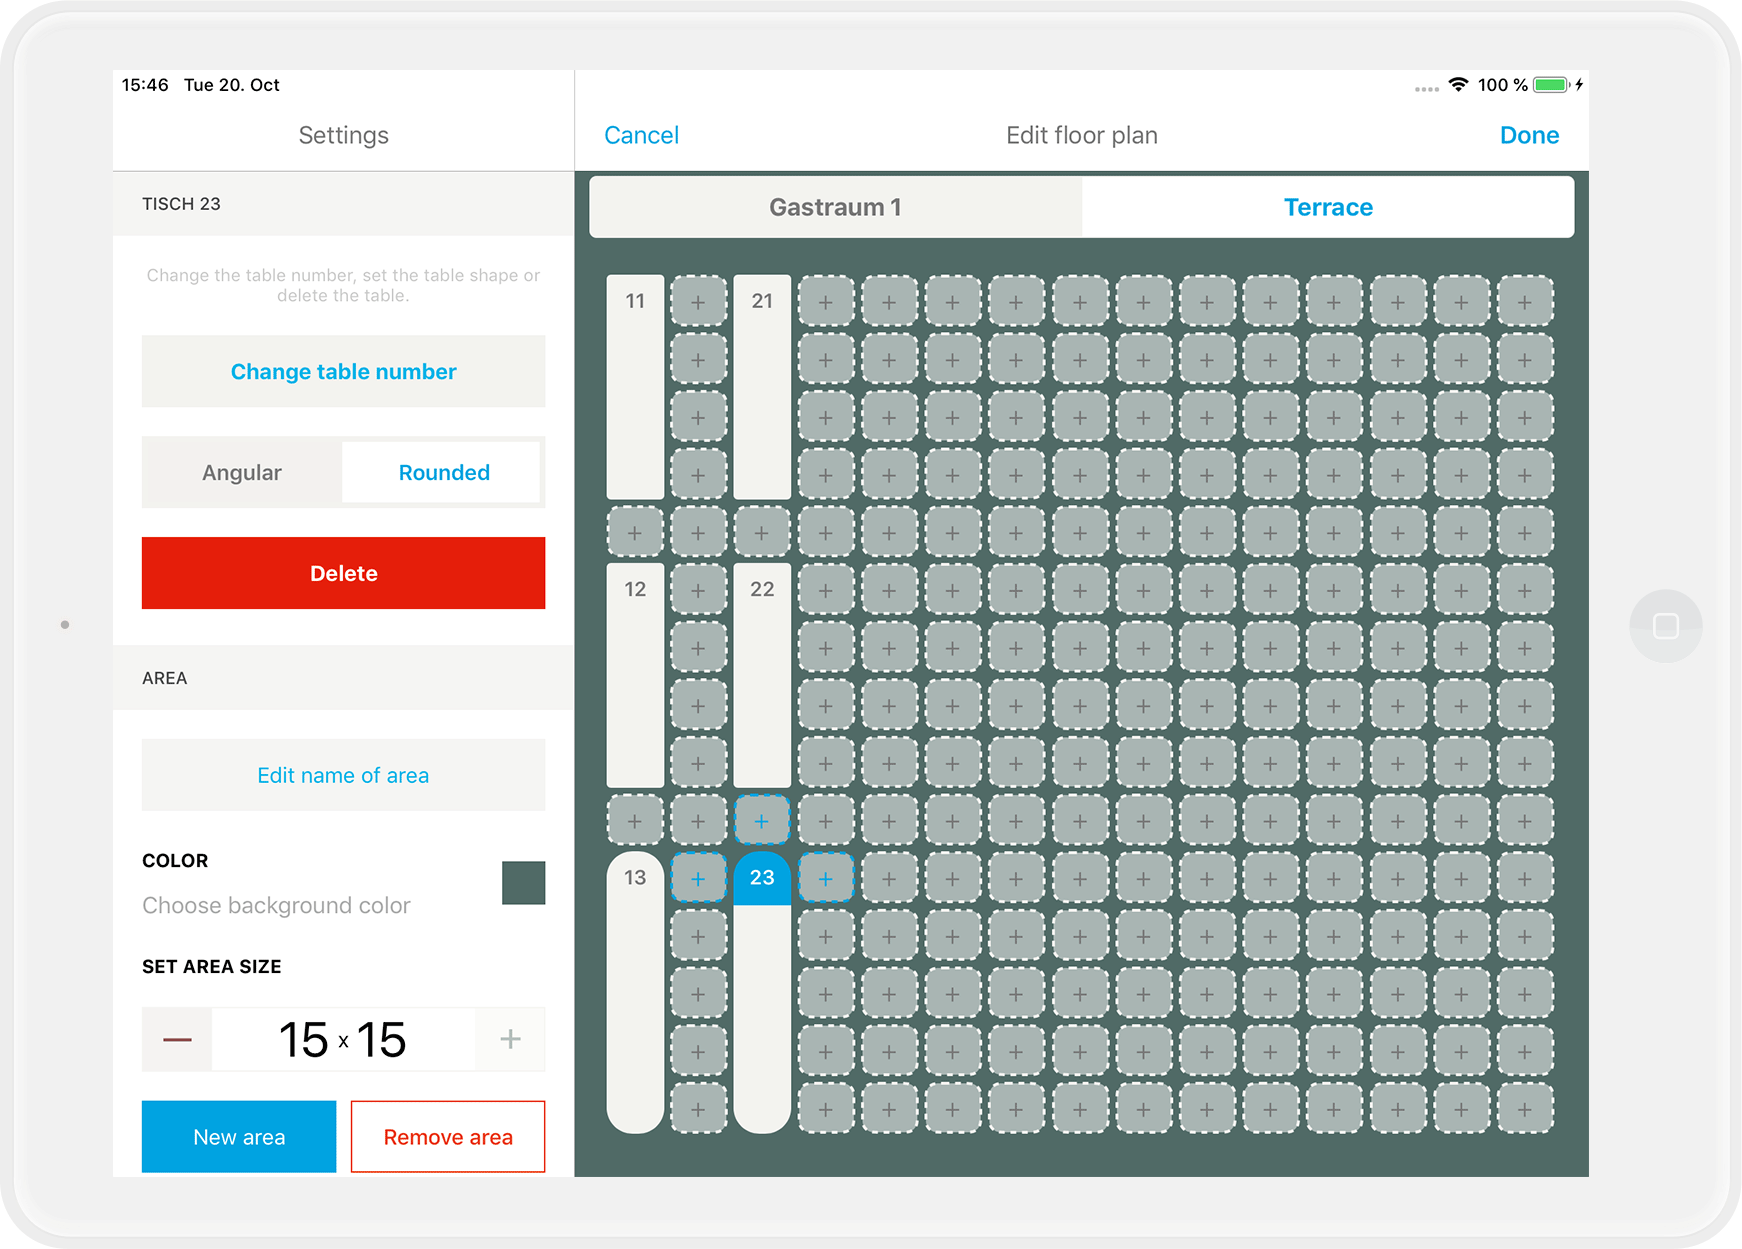
- Tap on "Rounded" on the left and the corners of the table will be rounded.
- Tap "Done" in the upper right corner to save.
Delete Tables
- Select the table you want to delete
- Tap on "Delete" on the left.
- Confirm that you really want to delete the table.
- Tip: You can also remove individual tables from table groups.
- Tap "Done" in the top right corner to save.
Change the number of tables in an area
- By default, you will see a table grid of 5x5 tables per area. You can increase this to a maximum of 15x15 tables.
- Just tap "+" for "Set area size" on the bottom left until you reach the desired size or tap "-" to reduce the grid:

- Tap "Done" in the upper right corner to save.
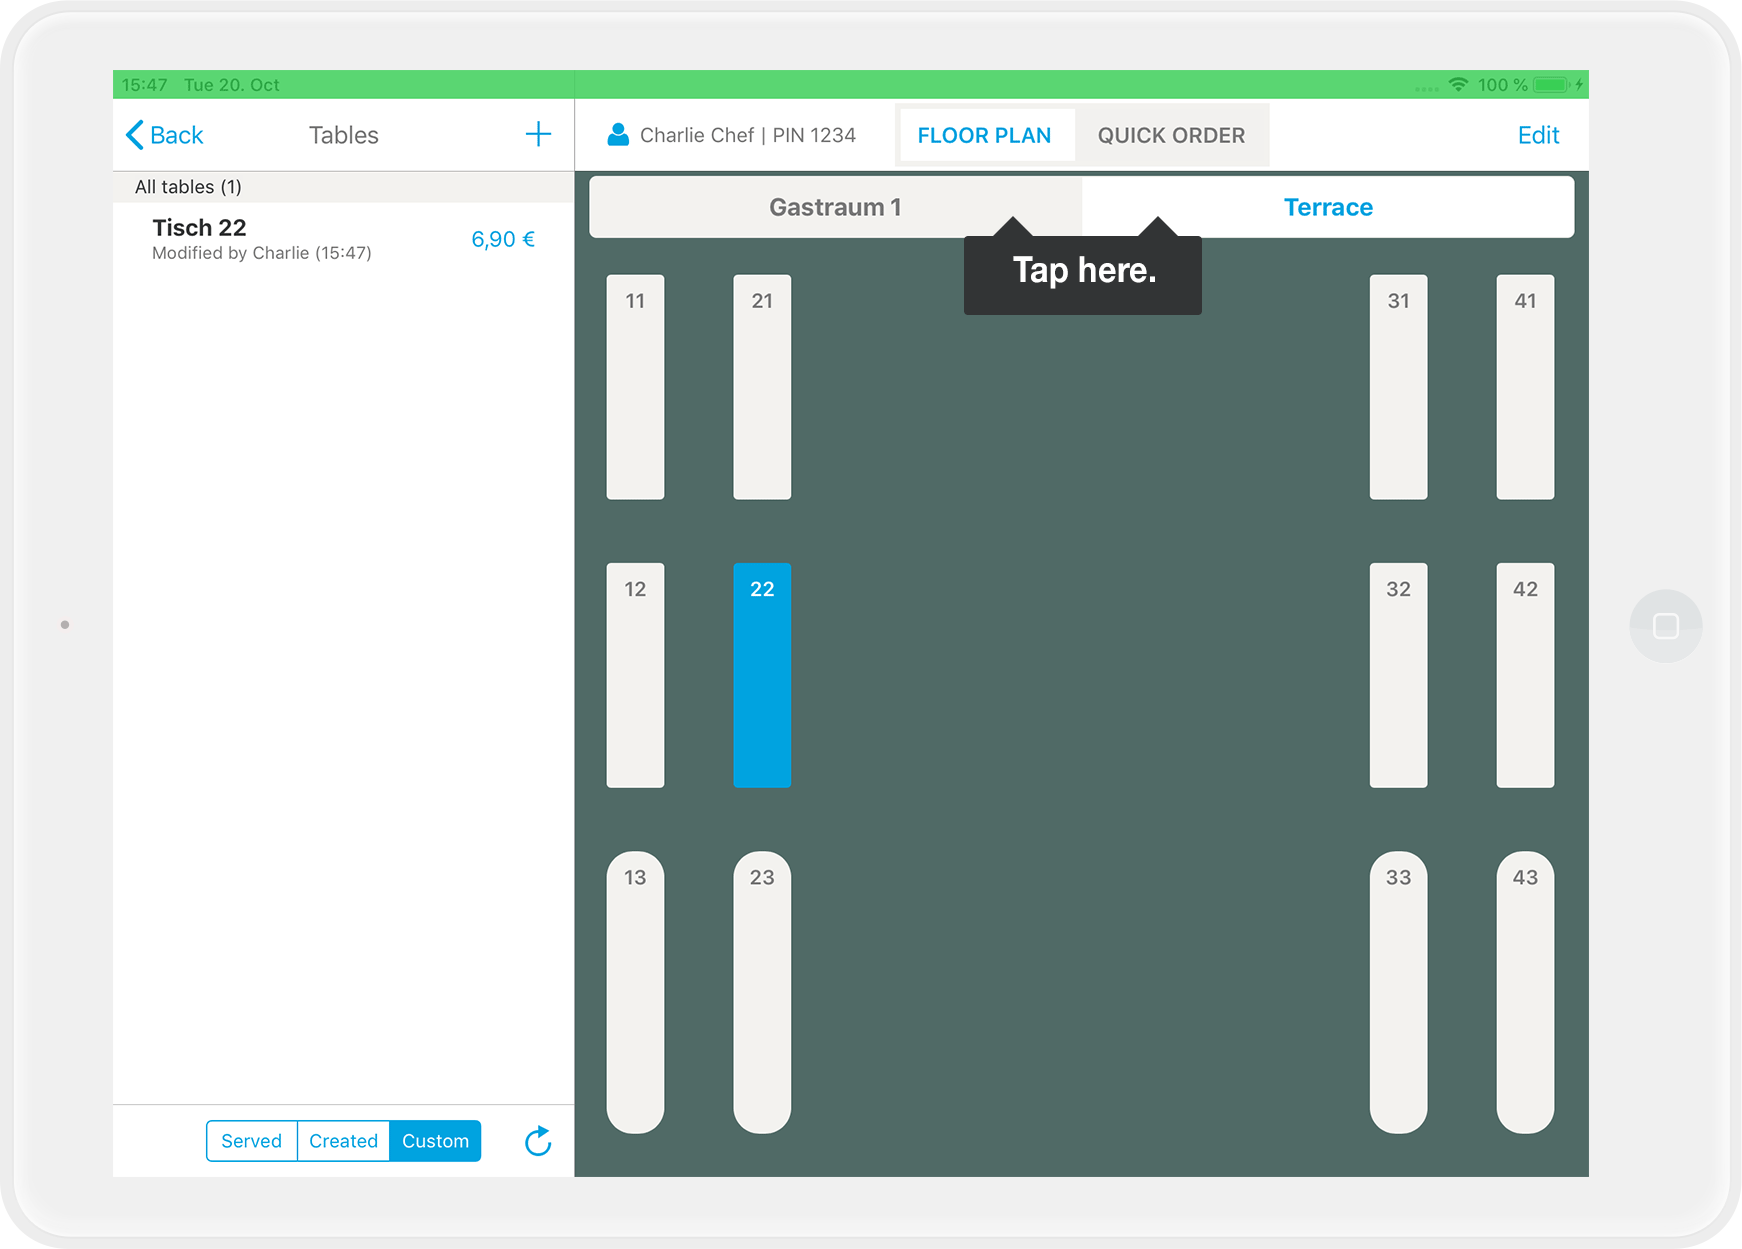
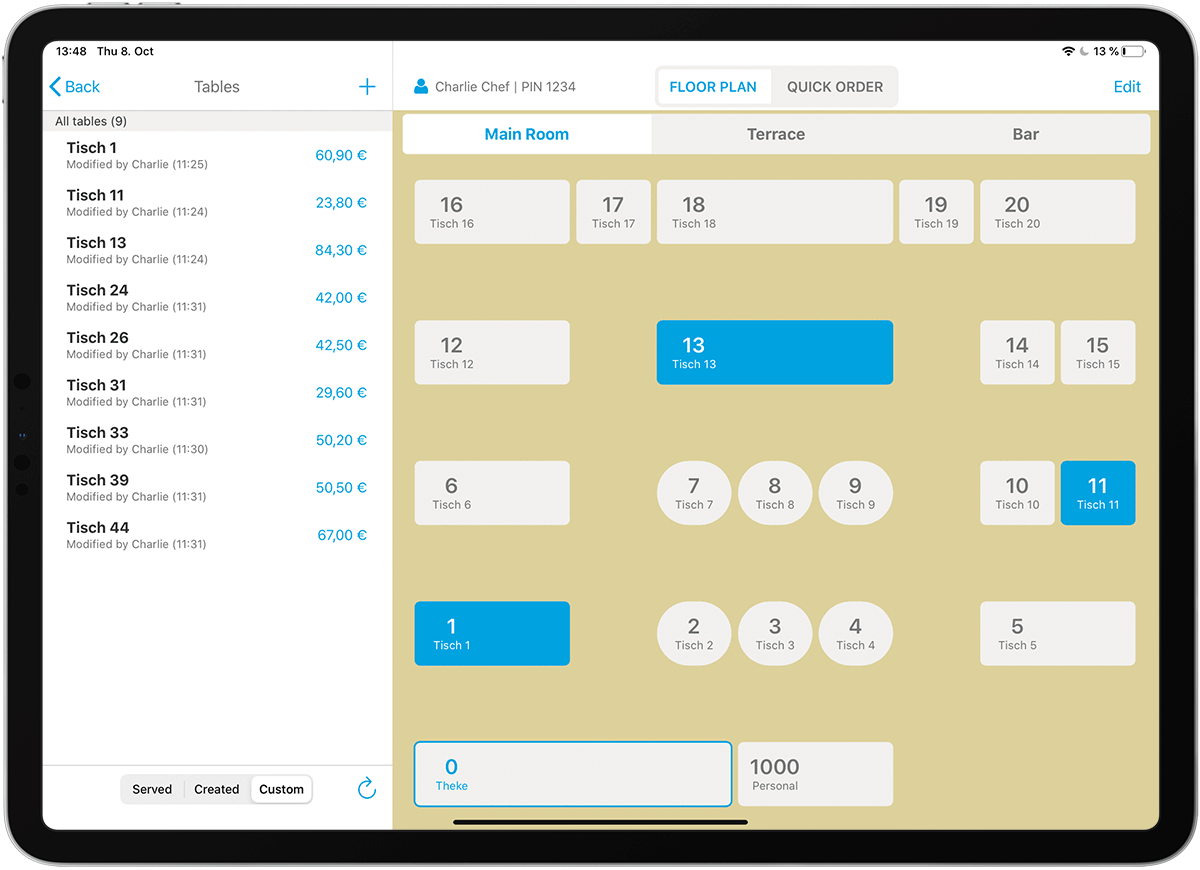
Take orders with the Floor Plan
Just tap on the table in the Floor Plan and you can take an order as usual. Served tables with an order appear blue on the Floor Plan. As soon as a table has been billed and is free again, it changes back to white.
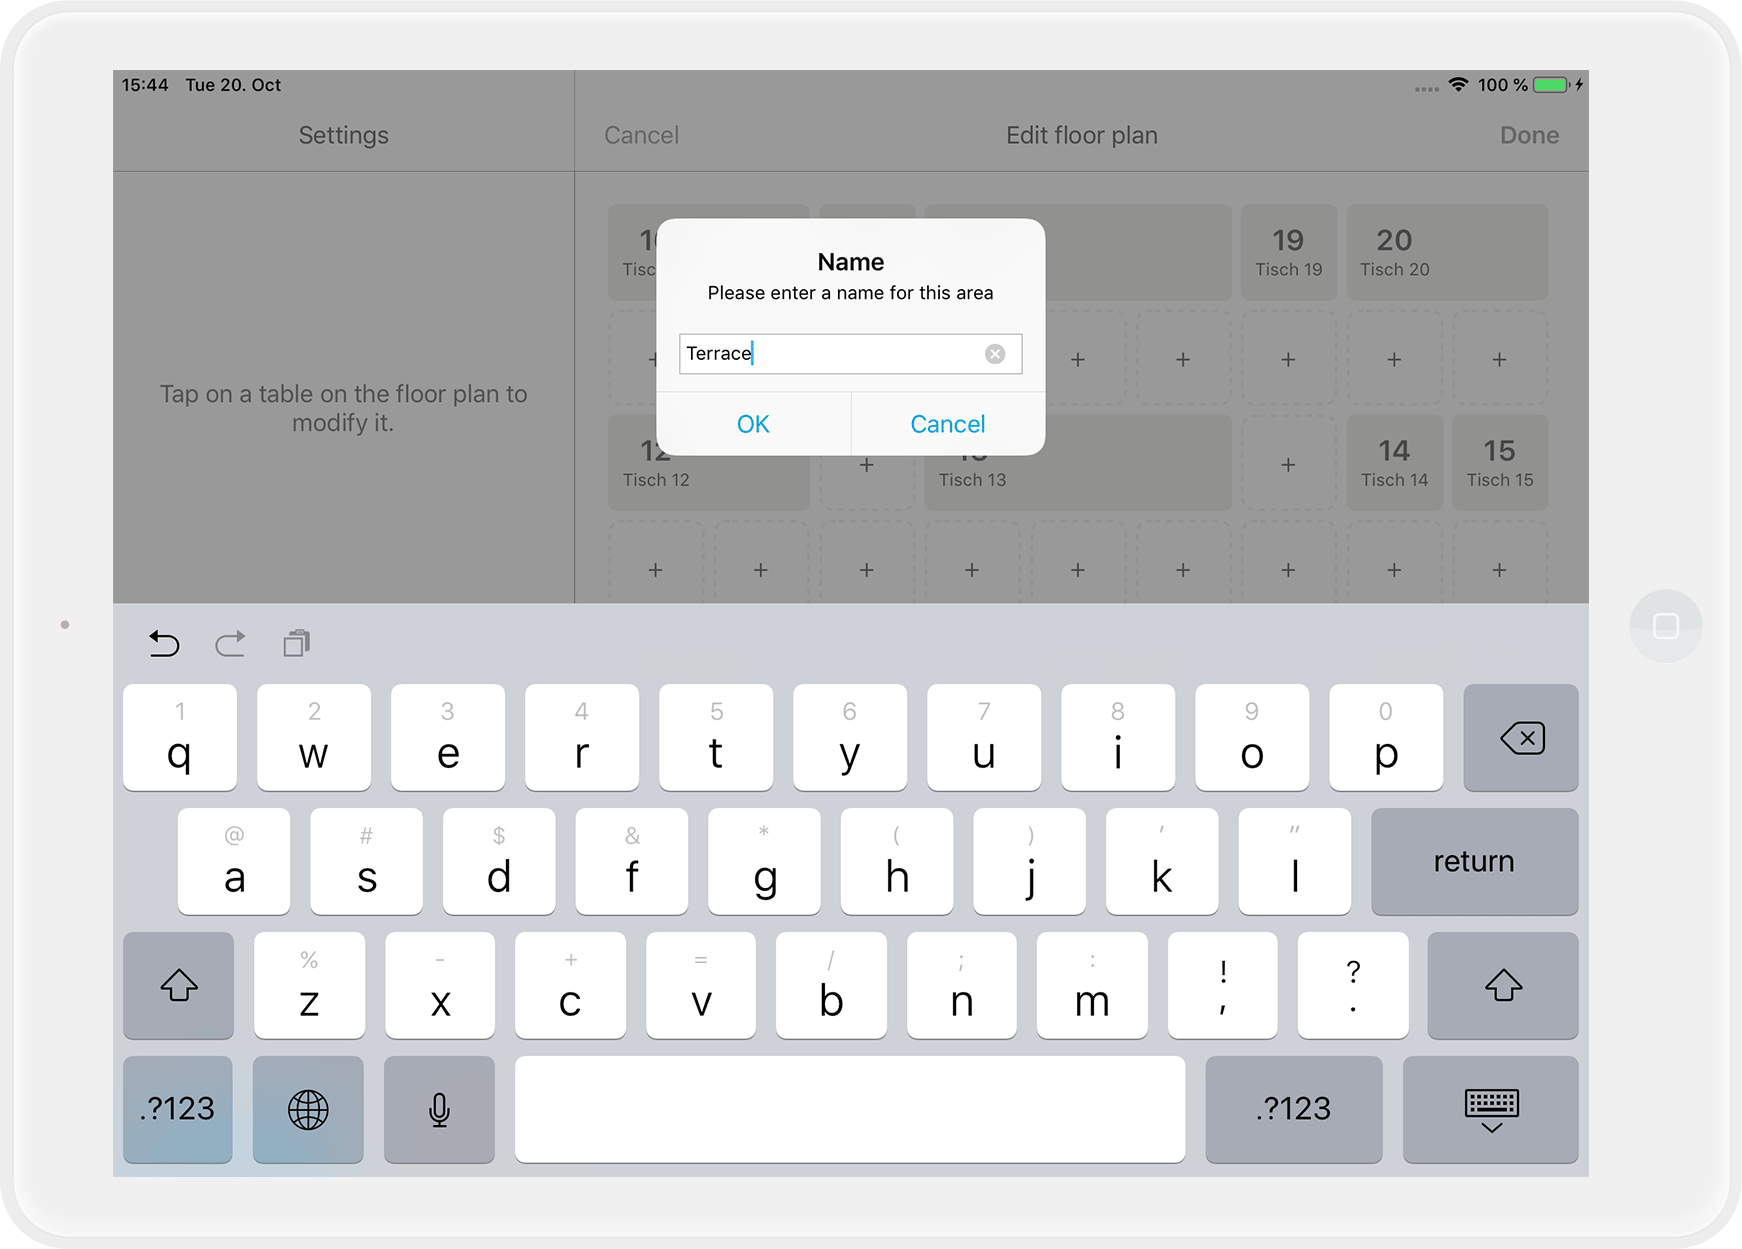
Create a new area
- Tap on "New Area" in the bottom left.
- Enter a name for the new area.
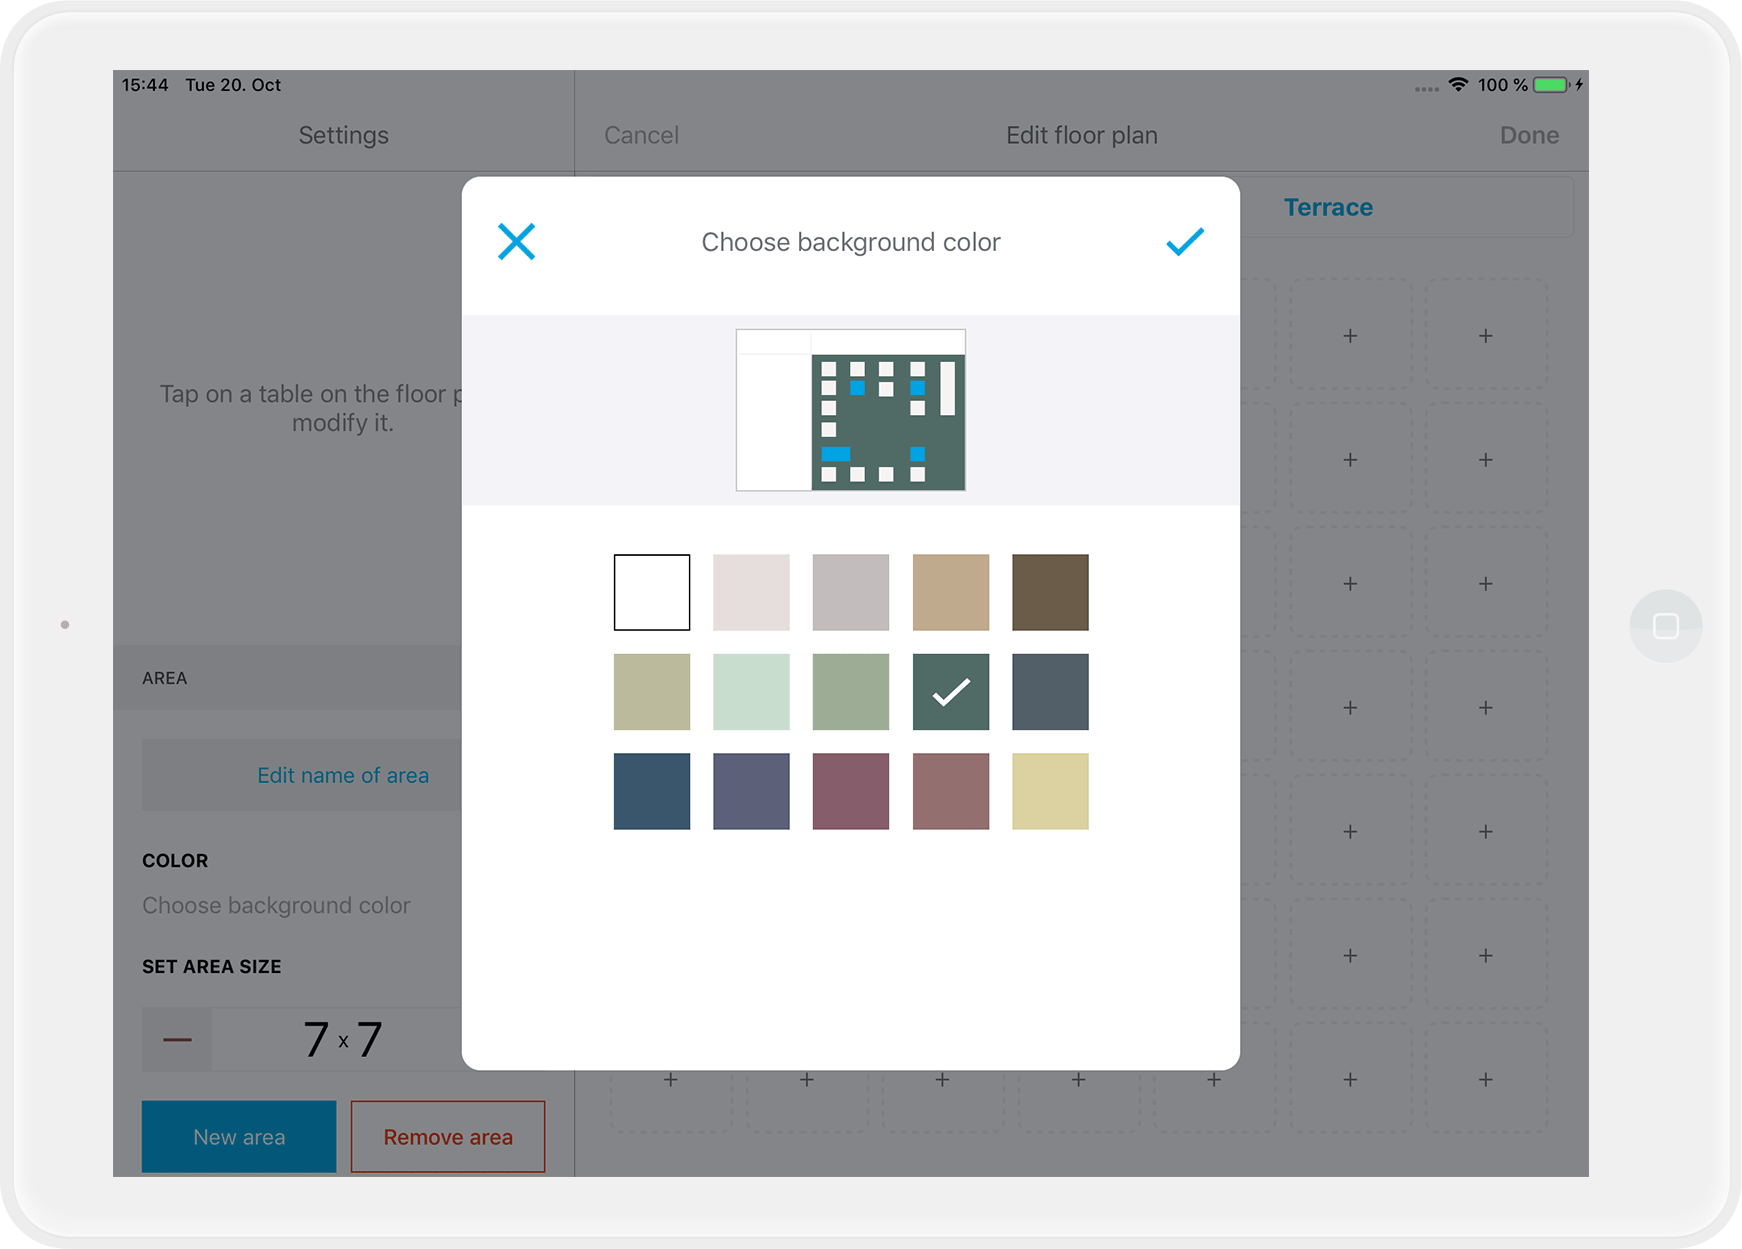
- In order to distinguish the areas quickly, you can use different colors for the table grid. Just tap on "Color".
- Create tables for your new area as described above.
- Tap "Done" in the upper right corner to save.
Switch between different areas
If you have created multiple areas, the names of the areas are displayed in different tabs on the top bar. Just tap on the name of the area you want to switch to: