Step 3.1: Installing orderbird PRO

Table of Contents
Your network and my.orderbird account are set up? Superb! Now you can install the app on your iPad/iPod.
Working internet connection needed
Before you start, make sure you have a working internet connection!
In a nutshell
- Open the App Store
- Search for "orderbird POS"
- Click on "Install" or the small cloud icon to download the app
- Open the orderbird app
- Log in with your my.orderbird credentials
Let's go
Follow these steps to download and set up your new POS.
1. Disable automatic updates on your Apple device
- Open "Preferences" on your Apple devices and select "iTunes & App Store".
- Go to "Automatic Downloads" and deactivate "Updates". Simply drag the slider to the left.
- Now press the home button to exit the settings.
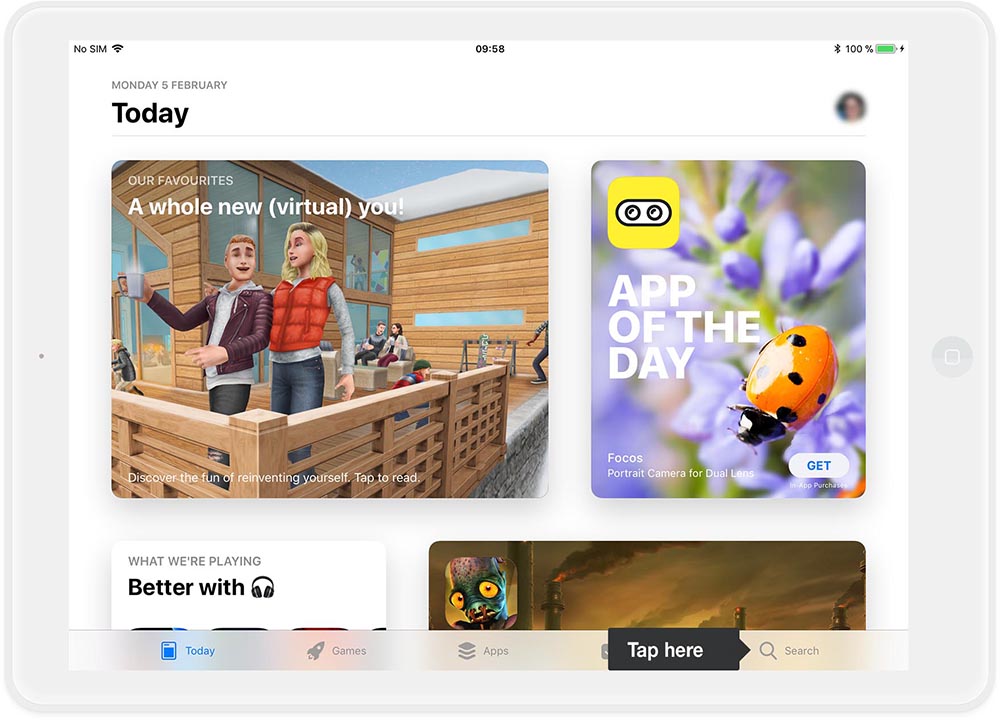
2. Open the App Store
Look for the App Store icon on your iPod or iPad and tap it to open. This is how the icon looks like: ![]()
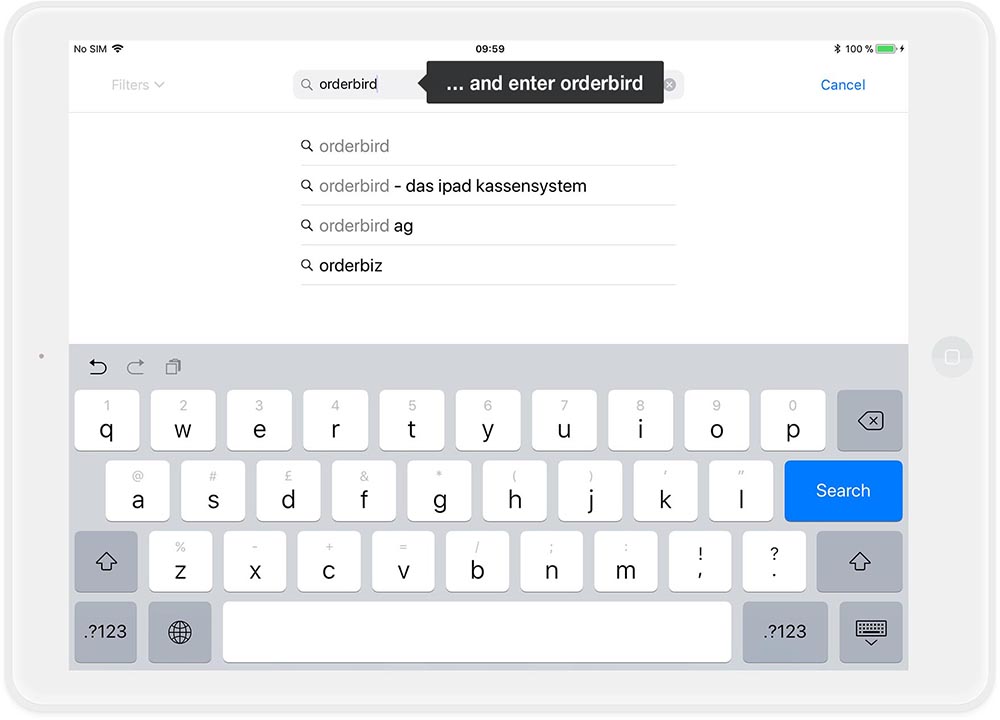
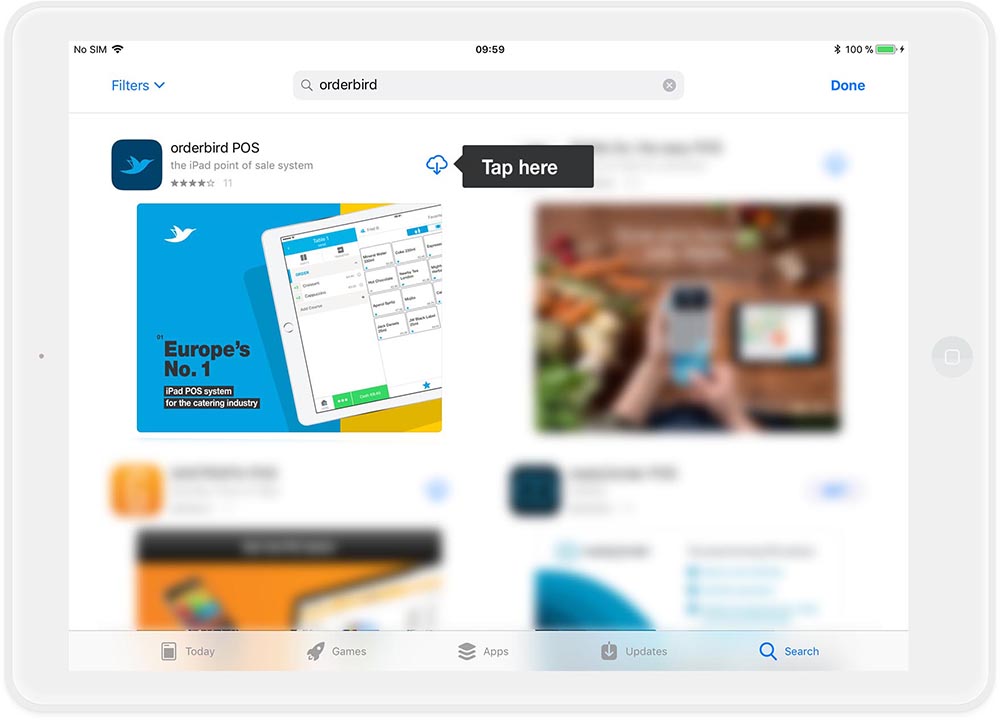
3. Search for “orderbird”
- In the bottom right corner, there is a “Search”-button.
- Tap on it once and a keyboard will appear.
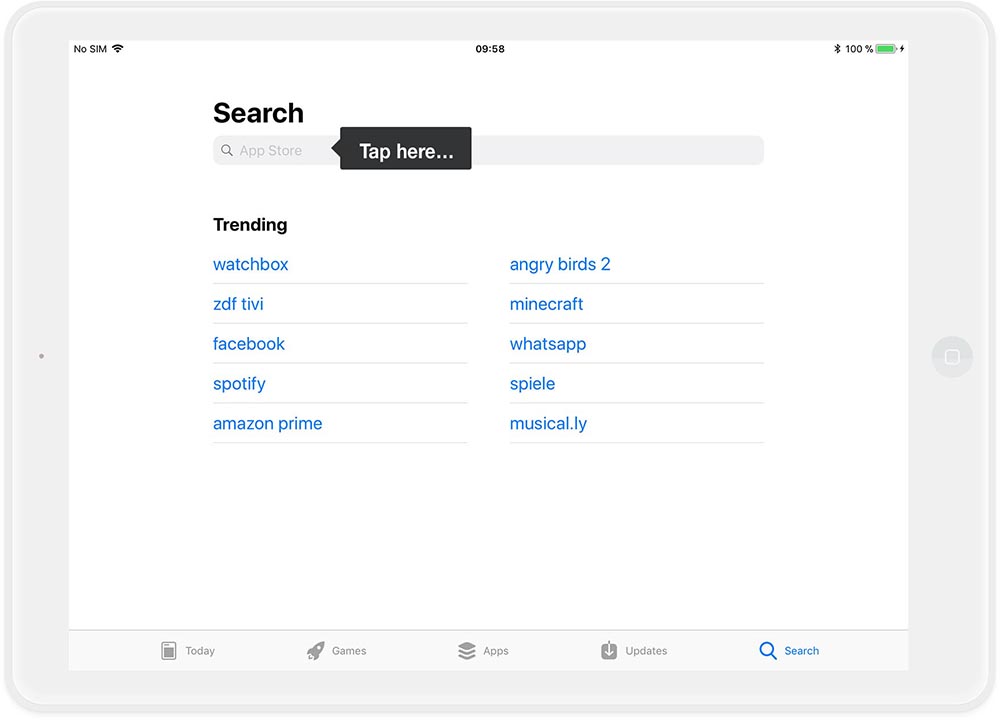
- Enter "orderbird" as search term and tap on "Search" on your keyboard to confirm.
4. Download the orderbird app
Now you can see the orderbird app listed in your search results. To the right of the orderbird app, you will find a button that says "Get":
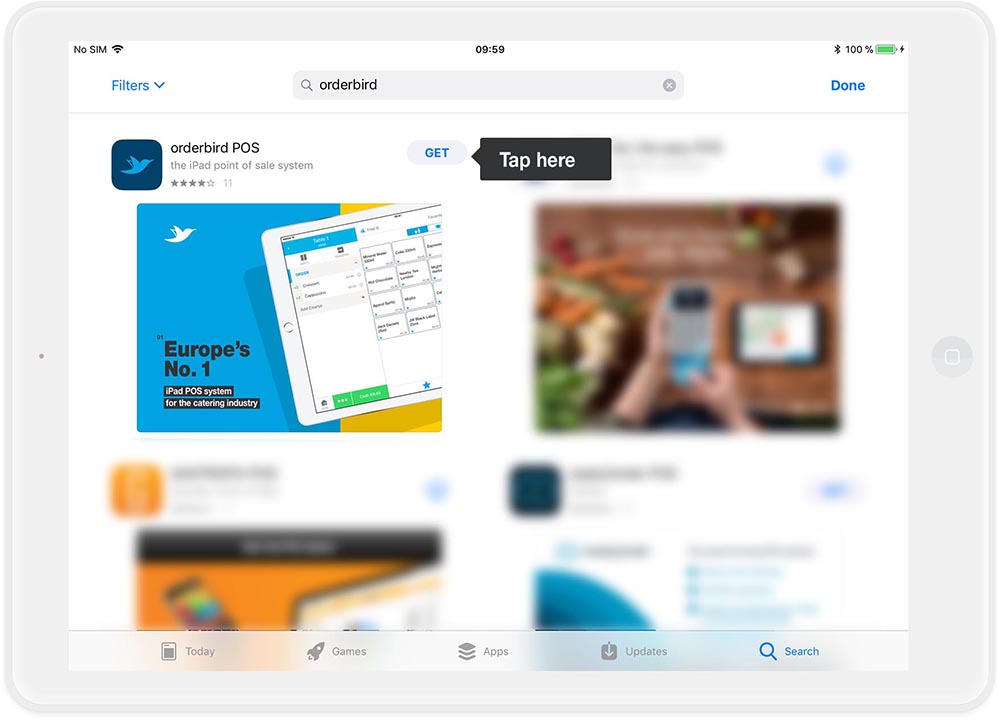
Already downloaded orderbird PRO before?
If you have already downloaded orderbird before, you will see a cloud icon next to the App.
- Tap this icon once to start the download and installation of your orderbird app:
- Tap on it once. A new window appears and presents the name of the app, rating and the account for billing. To confirm, tap on "Install". You will now see a small circle.

5. Open orderbird for the first time
As soon as this circle is completely filled, a button "Open" appears instead. Tap it once.

You are now ready to start working with orderbird for the very first time!
6. Log in with you my.orderbird credentials
As the app starts for the first time, you see four windows providing some facts about your new POS. Just swipe through to the login screen in the fourth window.
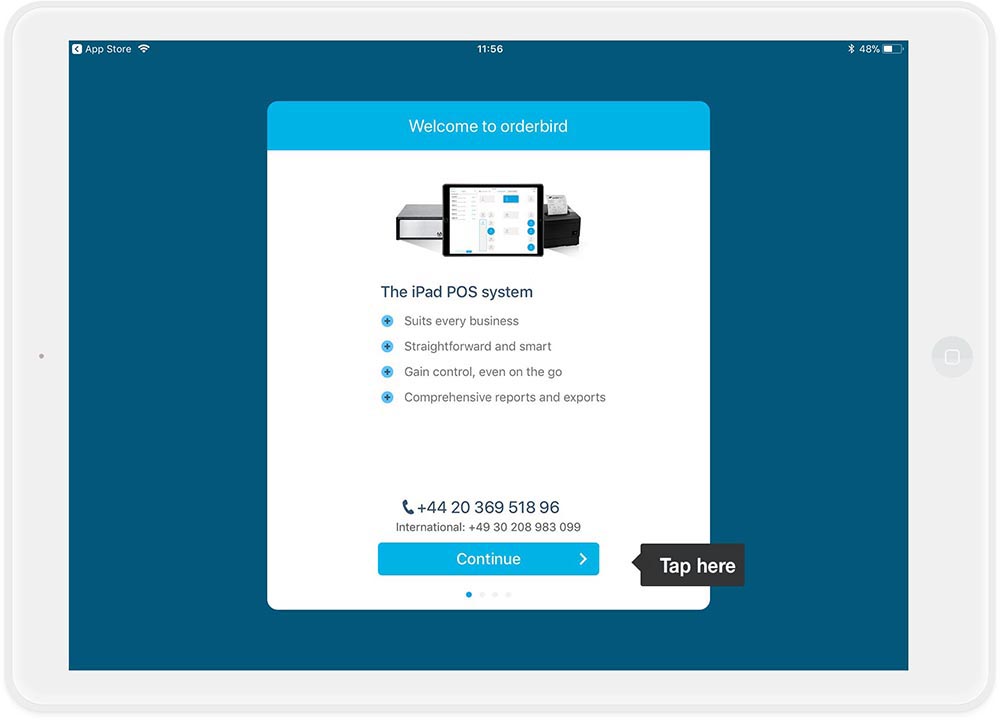
Enter your my.orderbird email address and password. Confirm your entry by tapping on "Connect".
7. Choose your currency
Choice of a lifetime
You can only determine your currency once!
- Choose your currency in the following window:
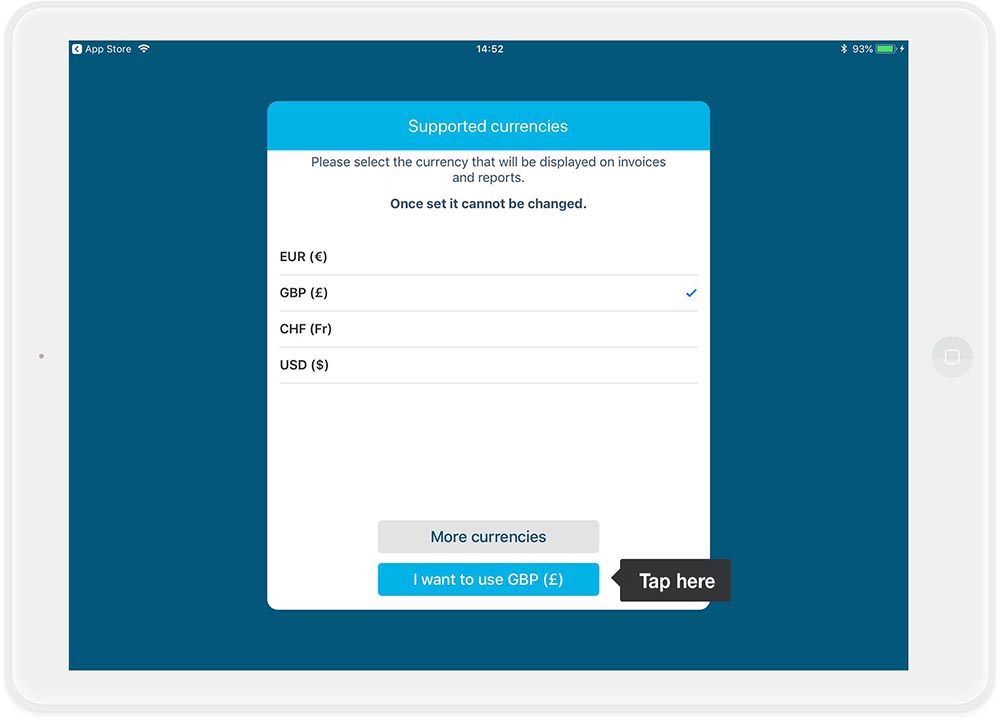
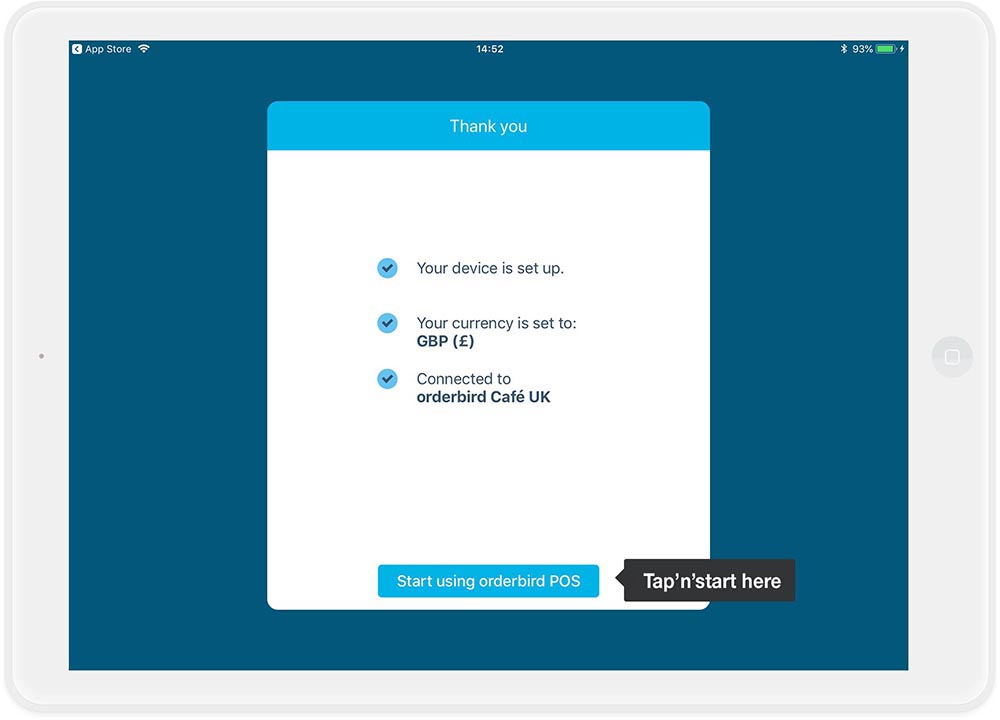
- Tap on the currency you are using and you see a small blue checkmark appearing. Confirm your selection with the blue button on the bottom. If your selection is correct, please confirm a second time by tapping on "Start using orderbird POS" in the next window.
8. Decide, if orderbird is allowed to send you messages
orderbird asks you if you want to allow it to send you messages. 
Even if you may not be a big fan of status messages, we highly recommend this at the beginning with orderbird: Your POS notifies you if something unusual has occurred and if other important information, like a new update of the app, is available.
9. Log in as administrator
Your cash register starts with four different preset users. One of them is Anna Admin 1234. Select this user on the left side and enter the digits 1 2 3 4 on the right side of the screen using the Num-Pad. 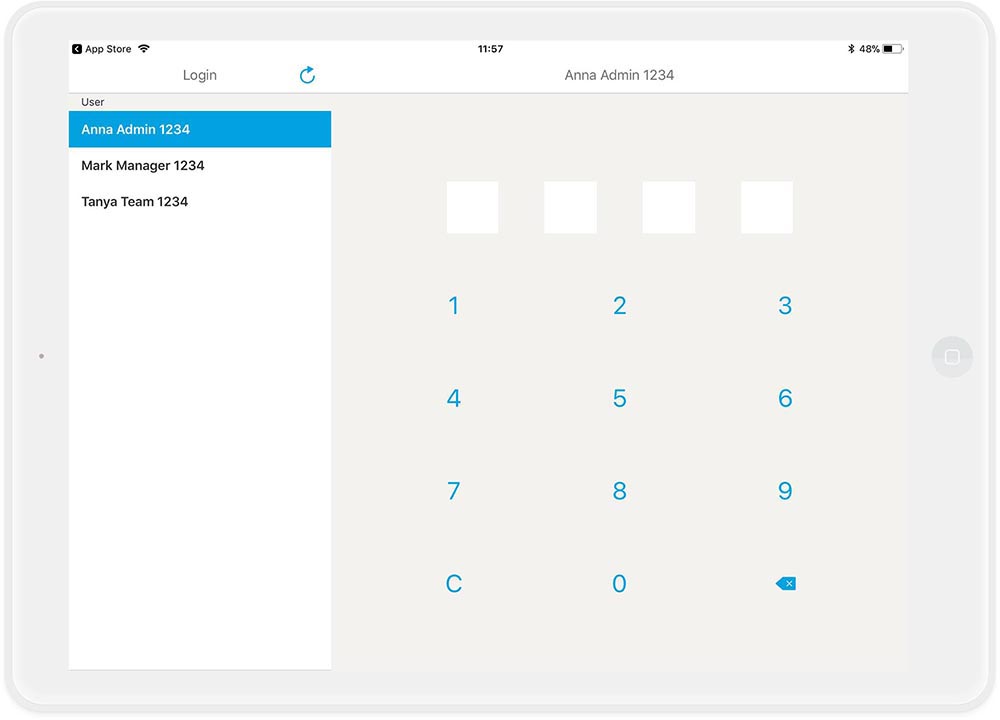
This user is the administrator of your POS and can manage it completely. Therefore, it makes sense to personalize this user in the next step and give it your name with a personalized PIN.
10. That's it!
Wonderful - You are now logged in to the App orderbird POS and have successfully connected it with your my.orderbird account!
Next step
In the next step, we explain how to set up an administrator for your register and how to create new users.